How to Remove a Background in GIMP (and a Faster AI Method)
Learn a reliable GIMP background-removal workflow with Foreground Select, layer masks, edge cleanup, transparent export, and a faster AI alternative.
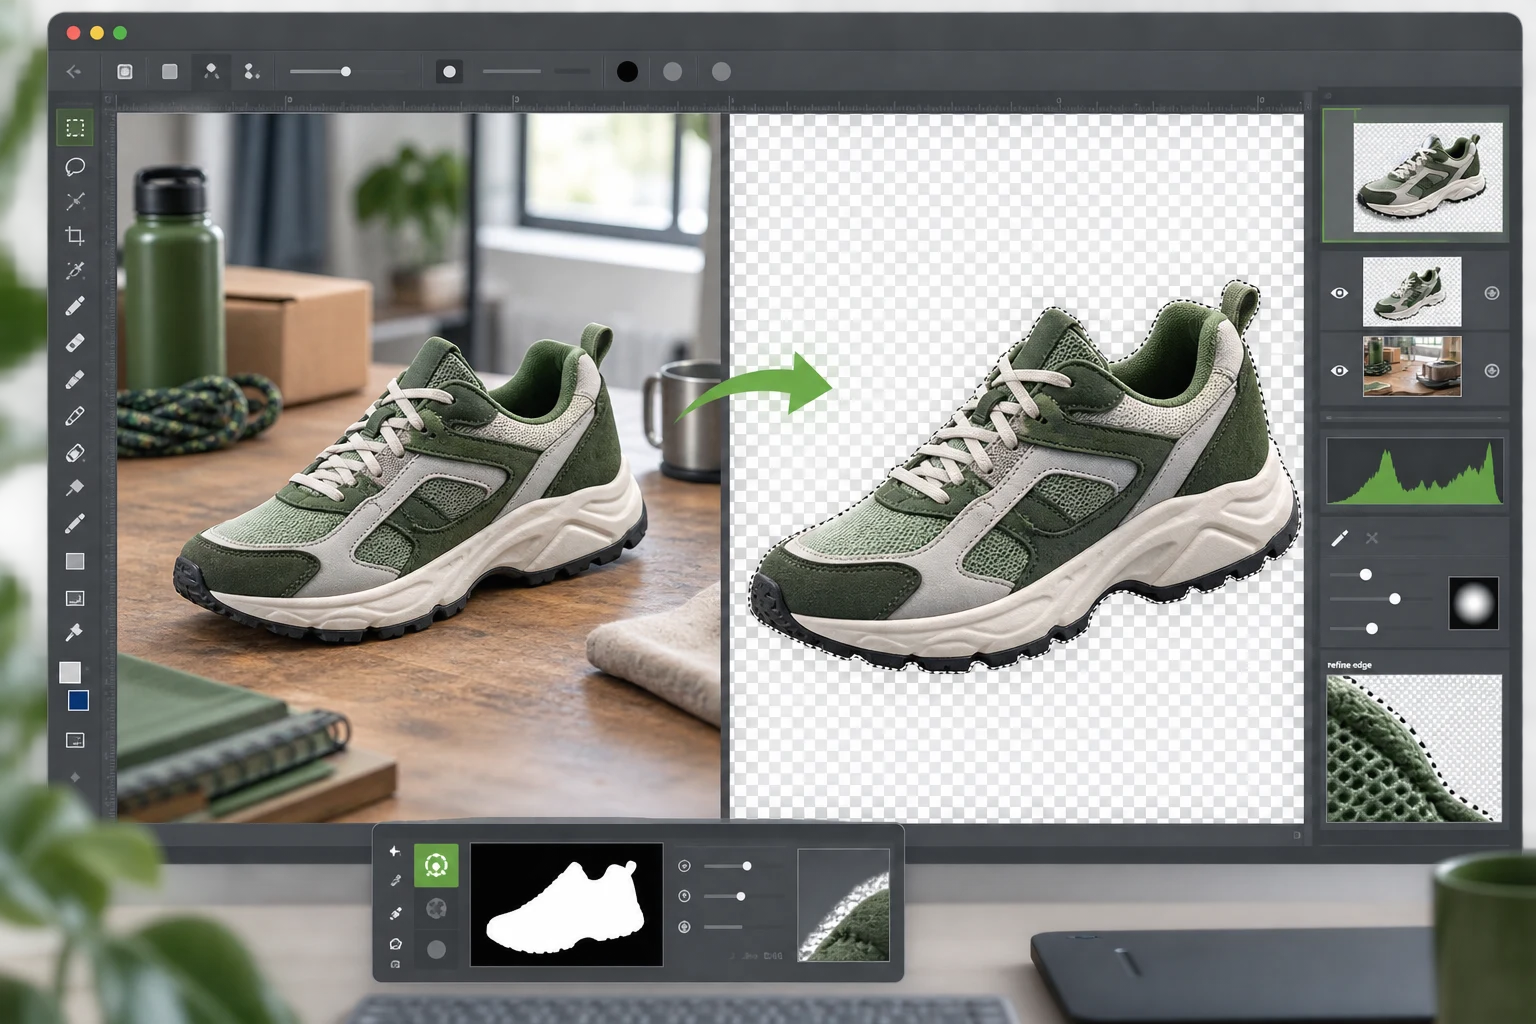
GIMP can remove a photo background with selections, masks, and manual edge refinement. It gives you detailed control and does not require sending the source image to an online tool, but the workflow takes time when the subject includes hair, translucent material, soft shadows, or colors similar to the background.
This tutorial explains a reliable Foreground Select workflow, alternatives for simpler images, non-destructive cleanup, transparent export, and when an AI Background Remover is the faster option.
The short answer
For a typical subject in GIMP:
1. Open the image and duplicate the layer. 2. Add an alpha channel. 3. Use Foreground Select to outline the subject. 4. Paint over the foreground colors GIMP should keep. 5. Preview and refine the selection. 6. Convert the selection to a layer mask. 7. Clean edges at high zoom. 8. Export as PNG or WebP with transparency.
For a product on a plain contrasting background, Fuzzy Select or Select by Color may be quicker. For repeated high-volume cutouts, start with the Background Remover and manually inspect the result.
Before you start
Use the highest-quality source available. Compression artifacts, motion blur, shallow focus, and a low-resolution edge make every background-removal method harder.
Check for:
- Hair, fur, mesh, lace, or foliage.
- Glass, smoke, translucent plastic, or motion blur.
- Background colors reflected in the subject.
- Soft contact shadows that should remain.
- Holes and negative spaces inside the object.
- A source layer that lacks transparency.
Decide whether you need a hard commercial cutout, a soft portrait edge, or a subject that remains grounded by its original shadow.
Method 1: Foreground Select for complex subjects
GIMP's official documentation describes Foreground Select as a tool for extracting the foreground from the active layer or a selection. The current workflow begins with a rough outline, then uses painted strokes to identify foreground colors. See the official Foreground Select documentation for version-specific controls.
Step 1: duplicate the source layer
Duplicate the original layer and hide the untouched copy. This gives you a reference and makes it easy to recover details later.
Step 2: add transparency
In the Layers panel, right-click the working layer and add an alpha channel if it does not already have one. Without alpha, deleted areas may fill with a background color instead of becoming transparent.
Step 3: activate Foreground Select
Choose Tools → Selection Tools → Foreground Select. Draw a rough outline around the subject. Include the full subject and a small amount of surrounding background; the first outline does not need to trace every hair.
Close the outline and confirm it. GIMP will display a preview mask and switch to a brush used for identifying foreground colors.
Step 4: paint through representative foreground areas
Paint strokes inside the subject—not along the edge. Cover the important color families and materials that should remain:
- Skin and hair.
- Light and dark clothing.
- Product surfaces and labels.
- Highlights and shadowed regions.
Avoid painting the background. A few deliberate strokes are better than covering the entire subject.
Step 5: preview and refine
Toggle the preview and inspect difficult areas. Depending on the GIMP version and tool options, switch between marking foreground, background, or unknown pixels.
Zoom into:
- Hair against a similar tone.
- Thin straps or spokes.
- Open spaces inside handles.
- Soft shadows near the ground.
- Semi-transparent edges.
Refine only where the preview is wrong. Repeated broad strokes can damage already-correct areas.
Step 6: finalize the selection
Confirm the Foreground Select operation to create a normal selection around the extracted subject.
Do not immediately delete the background. A layer mask gives you a reversible result.
Step 7: convert the selection to a layer mask
Add a layer mask initialized from the current selection. In a mask:
- White reveals the layer.
- Black hides it.
- Gray creates partial transparency.
This is especially useful for hair, fabric fibers, soft edges, and shadows.
Step 8: clean the mask
Paint on the mask with a small soft or hard brush according to the edge:
- Use a hard brush for packaging, furniture, electronics, and sharp product edges.
- Use a softer brush for hair, fur, fabric, and shallow-focus edges.
- Use gray rather than pure black for semi-transparent areas.
Temporarily place solid black, white, and saturated-color layers behind the subject. Different backgrounds reveal halos that are invisible on a checkerboard.
Step 9: export with transparency
Export to a format that supports alpha, such as PNG or WebP. JPEG does not preserve transparency.
After export, reopen the file and verify:
- Transparent areas are actually transparent.
- The subject dimensions and crop are correct.
- No hidden color fringe appears on dark or light backgrounds.
- Thin details remain present.
Method 2: Fuzzy Select for a simple continuous background
Fuzzy Select works well when the background is one connected region with a clearly different color.
1. Add an alpha channel. 2. Click the background with Fuzzy Select. 3. Adjust the threshold until the background is selected without eating into the subject. 4. Add or subtract missed areas. 5. Feather very slightly if the edge looks unnaturally hard. 6. Create a layer mask from the inverted selection. 7. Inspect and export.
Do not push the threshold too far to capture every background shade. That often removes product highlights or skin tones. Select additional regions separately instead.
Method 3: Select by Color for repeated background colors
Select by Color can capture similar colors across disconnected areas. It is useful for a flat studio background interrupted by holes, gaps, or separate regions.
It is less reliable when the subject contains the same color as the background. A white product on a white sweep usually needs a path, mask, or foreground extraction rather than a broad color selection.
How to keep natural edges
Remove color spill
A subject photographed against green, blue, or bright paper may reflect that color. Background removal does not automatically remove the reflected cast. Use a clipped correction layer or carefully desaturate the fringe.
Preserve contact shadows intentionally
A perfectly transparent object can look as if it floats. For ecommerce scenes, keep or rebuild a subtle contact shadow on a separate layer.
Match edge sharpness to focus
Do not make every edge equally hard. An out-of-focus back edge should remain softer than the front edge closest to the camera.
Avoid heavy feathering
Large feather values create glowing halos. Prefer a controlled mask and local refinement.
Faster AI method
The AI Background Remover is useful when you need a quick first cutout:
1. Upload the source image. 2. Run background removal. 3. Inspect the result at full size. 4. Test it on light, dark, and saturated backgrounds. 5. Download the transparent result. 6. Open it in GIMP for any final mask repair.
AI is often faster for clear portraits, products, profile images, and thumbnails. It can still fail on glass, smoke, motion blur, fine jewelry, similar foreground/background colors, or ambiguous shadows.
GIMP versus AI background removal
| Need | GIMP | AI remover | | --- | --- | --- | | Detailed manual control | Strong | Limited to available revision tools | | Fast first result | Slower | Strong | | Offline/private workflow | Strong | Depends on the service | | Hair and fur | Precise with time | Fast but must be inspected | | Transparent objects | Manual judgment required | Often uncertain | | Repeated product cutouts | Labor intensive | Efficient starting point | | Custom shadow handling | Strong | Usually needs follow-up editing |
The best workflow can combine both: use AI for the first extraction, then use GIMP for mask refinement and production checks.
Product-photo checklist
For ecommerce images, also check:
- Product silhouette and proportions.
- Thin components, handles, cords, and openings.
- Packaging text and labels.
- True product color.
- Natural shadow treatment.
- Marketplace background and file requirements.
Read How to Create Product Photos with AI for a complete source-photo, background, scene-generation, and export workflow. Use the Product Photo Generator after the cutout is approved if you need new commercial scenes.
Final checklist
- The original layer remains available.
- Transparency was added before masking.
- Complex edges were inspected at high zoom.
- Halos were tested on multiple background colors.
- Semi-transparent materials were not treated as solid cutouts.
- Contact shadows were kept or rebuilt intentionally.
- The exported format supports transparency.
- The final file was reopened and verified.
Remove a background now
Use the Background Remover for a fast first result, then open the file in GIMP when a mask needs fine manual correction.