How to Turn a Photo Into an Anime Character With AI
Turn a portrait, travel photo, or group picture into an anime-style image with a controlled workflow for preserving identity, pose, clothing, and the original scene.
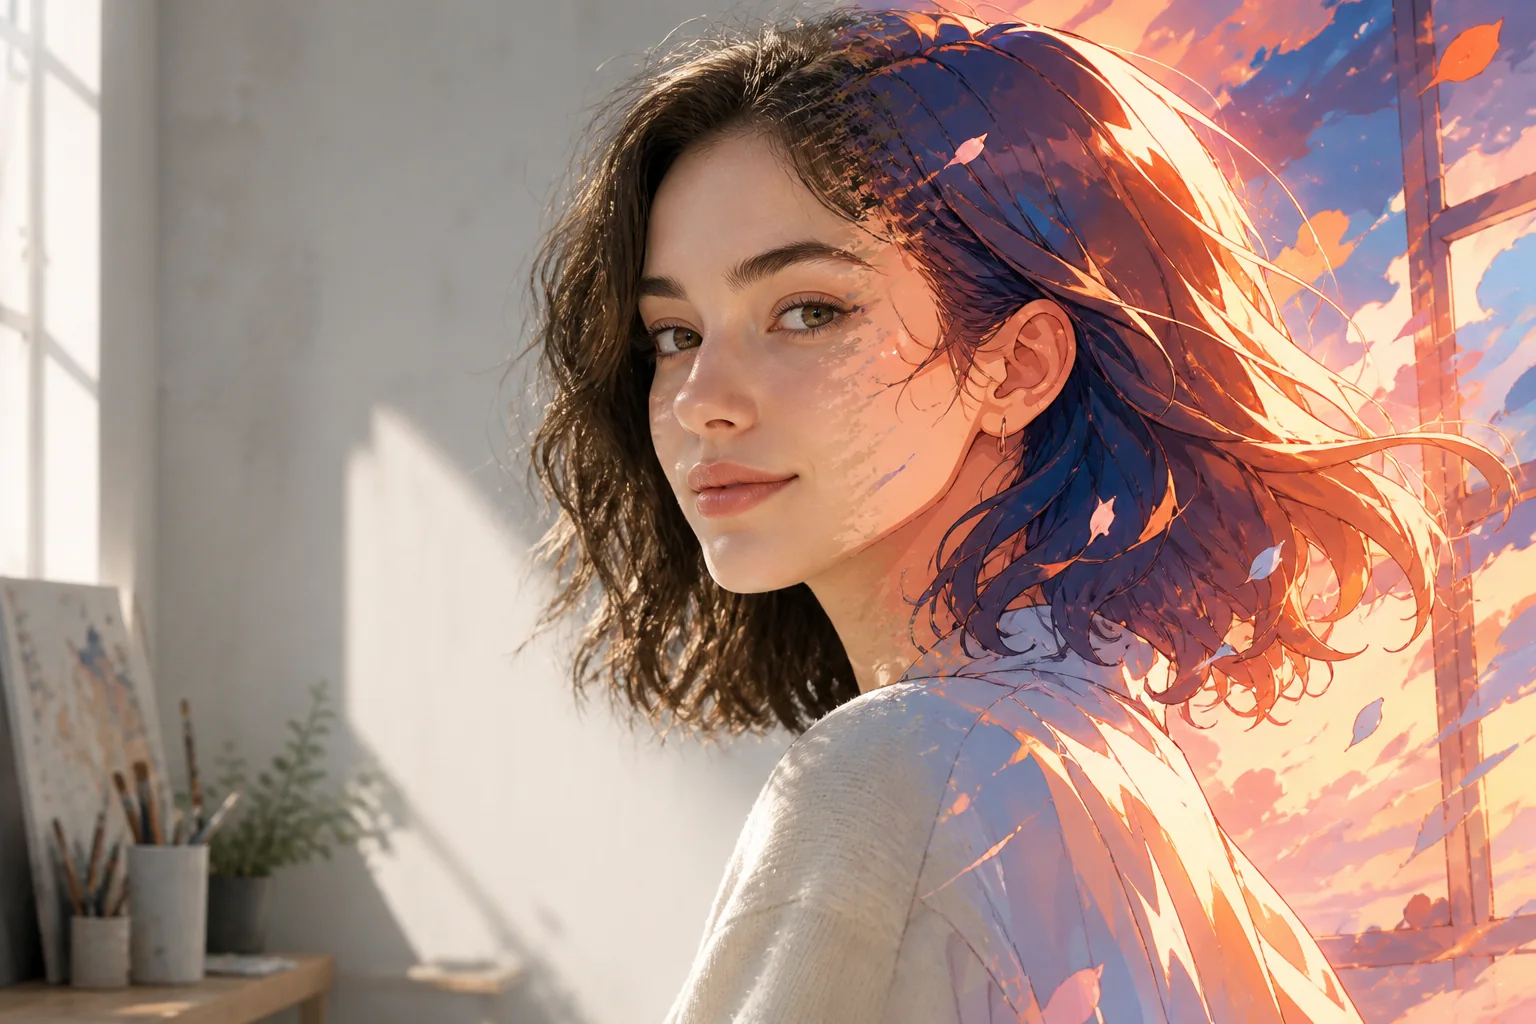
Turning a photo into an anime character is easy to try and surprisingly difficult to control. A good result changes the illustration language while keeping the person recognizable, the pose believable, and the important parts of the scene intact.
This guide shows a repeatable workflow for portraits, travel photos, and group pictures. It focuses on the decisions that matter before generation, the details to preserve in the prompt, and the checks that prevent a stylized image from becoming a different person.
The short workflow
1. Choose a clear source photo. 2. Decide what should change and what must stay recognizable. 3. Name one anime direction instead of combining many unrelated styles. 4. Generate a first pass with identity and composition constraints. 5. Revise one visual variable at a time. 6. Compare the result with the source at full size. 7. Export the approved image for its actual use.
Start with the Photo to Anime AI page when you already have a source photo. For broader image-to-image revisions, use Image to Image and describe the source details that must remain fixed.
Choose a source photo the model can understand
The model can only preserve details that the source makes visible. Use the clearest version of the photo you have, not a screenshot of a compressed social post.
Look for:
- A face that is large enough to read.
- Even lighting without a heavy color cast.
- A visible hairstyle, clothing silhouette, and pose.
- Enough space around the subject if the background should remain.
- A simple composition for a first test.
For a group photo, make sure the people are not overlapping heavily. If one face is hidden or only a few pixels wide, ask the model to preserve the group arrangement rather than expecting exact identity for every person.
Decide what the anime treatment should change
“Make it anime” leaves too many decisions open. Choose one direction:
- Clean modern anime portrait with controlled linework.
- Warm hand-painted travel illustration.
- Soft cel-shaded character art.
- Cinematic anime key visual with atmospheric light.
- Minimal editorial anime poster with a restrained palette.
Also decide whether the background should be preserved, simplified, or replaced. A character transformation and a scene redesign are separate jobs. Combining both in the first prompt makes it harder to tell why a result failed.
Use a preserve-and-change prompt structure
Separate the transformation from the identity constraints. For example:
Transform the uploaded portrait into an original modern anime-style illustration with clean linework, soft cel shading, and warm evening light. Preserve the person's facial structure, hairstyle, expression, pose, clothing silhouette, and overall camera framing. Keep the background composition recognizable but simplify small distractions. Do not add another person, change the age, alter the clothing design, or add text.
Concrete constraints are stronger than “keep it accurate.” Name the face, hair, pose, clothing, camera framing, and background elements that matter.
Three useful prompt directions
For a portrait, ask for original anime rendering, facial structure, hairstyle, glasses, clothing colors, and head-and-shoulders framing to remain stable.
For a travel photo, preserve the person’s pose, clothing, horizon, and landmark layout, while asking for hand-painted texture and simplified background detail.
For a group photo, state the exact number of people and their relative positions. Ask for consistent linework across the group and explicitly prohibit merging or duplicating faces.
Revise one variable at a time
If the identity is right but the style is too strong, keep the people, pose, clothing, crop, and background unchanged and request softer linework. If the scene is right but the face drifted, restore facial proportions, hairstyle, glasses, and expression without changing the composition.
Making several large changes at once makes it difficult to learn which instruction helped. Save the prompt with each version so a good result can be reproduced.
Common failure modes
The face looks different. Use a clearer source, reduce the style transformation, and name facial structure and hairstyle as invariants.
Clothing changes. Describe the silhouette, colors, layers, and distinctive accessories instead of saying “same outfit.”
The background becomes generic. State whether the main background layout should remain, or explicitly request a simplified background.
The group loses members. State the exact count and relative positions, use a larger source, and avoid a major crop in the same request.
Text and logos become incorrect. Keep verified artwork from the source or add exact text later in a design tool. Do not treat generated lettering as production copy.
Review before export
Compare the result with the original:
- Is the person still recognizable?
- Are the number and position of people correct?
- Did the pose and camera framing remain plausible?
- Are hair, glasses, clothing, and accessories preserved?
- Did the background keep the important landmark or layout?
- Are hands, eyes, and repeated patterns clean at full size?
- Did the model invent text, logos, or symbols?
When the image passes, use the AI Image Editor for cleanup or the Image Upscaler for a larger delivery file.
Final recommendation
Treat photo-to-anime as a controlled identity transformation, not a one-line style filter. Begin with a clear photo, name the anime direction, list the details to preserve, and make each revision answer one specific problem.
Try one portrait in Photo to Anime AI, then save the source, prompt, and approved result before creating a consistent set.