
Flare / Sunburst
Choose Flare for quick iteration or Sunburst for detailed edits.
Preview
Choose another model or continue refining the asset in a related tool.
Open Seedream 5.5 Layerize in AI Image Editor.
Open Grok Imagine Image 2.0 in AI Image Editor.
Open Qwen Image 3.0 in AI Image Editor.
Open Midjourney V8.2 in AI Image Editor.
Open Nano Banana 2 Lite in AI Image Editor.
Open Seedream 5.5 in AI Image Editor.
Open Seedream 5.0 Flash in AI Image Editor.
Open Nano Banana 2.1 in AI Image Editor.
Create product scenes and revise existing images with GPT Image 2.6. Choose Flare for rapid exploration or compare Sunburst for detailed reference edits. Both accept up to 16 references and an optional mask. Quality controls rendering effort; complexity controls planning. Begin with a small image and check product shape and lettering before increasing resolution.
Choose Flare for quick iteration or Sunburst for detailed edits.
Use automatic sizing, an aspect ratio or custom pixels.
Add a matching PNG mask for a targeted edit.
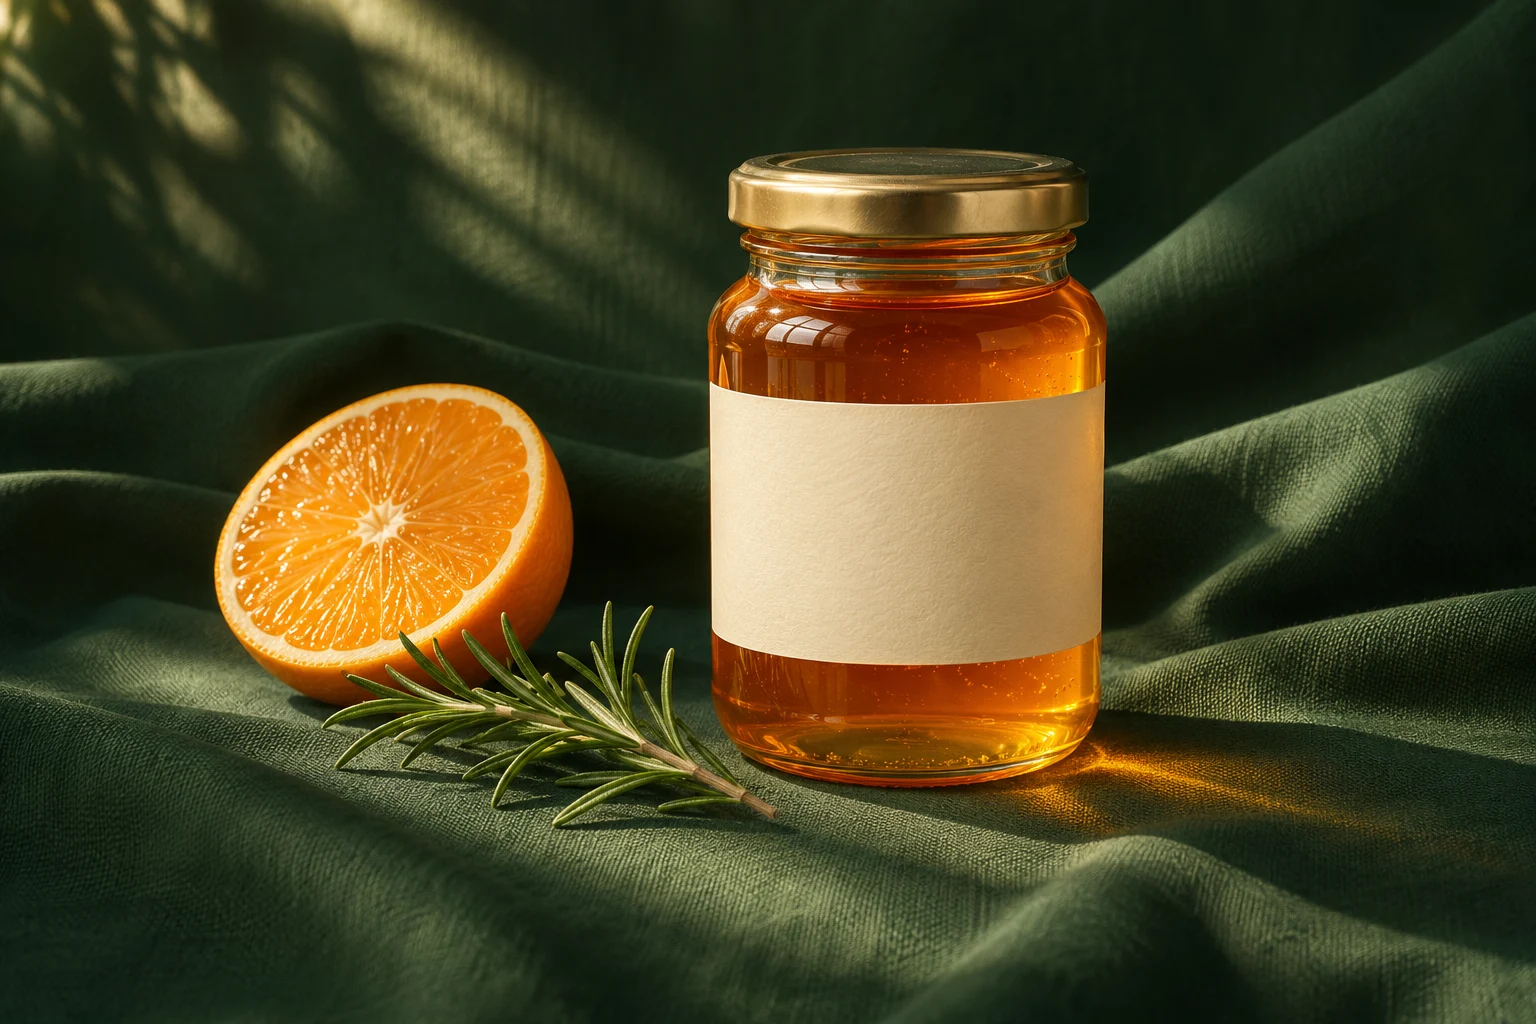
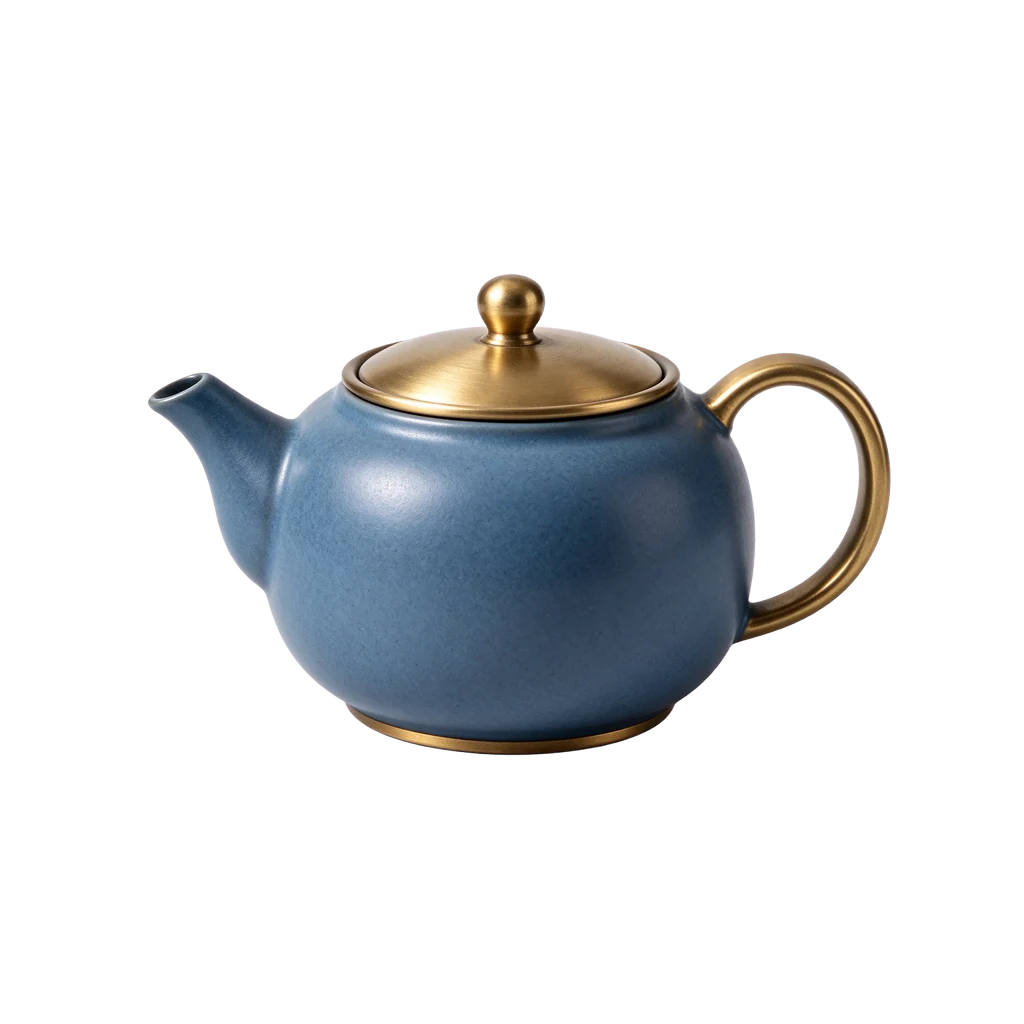
Preserve the mug, lid and camera angle while changing only the tabletop and light. Describe one edit per round so you can identify what changed.
This page offers still-image generation and masked editing. Transparent backgrounds are experimental. SVG and GIF controls are not provided here; inspect lettering and alpha edges before delivery.
Inspect the full image, then zoom into text, edges, reflections and object geometry. Download the accepted version and keep the prompt and settings so the next edit has a clear baseline.
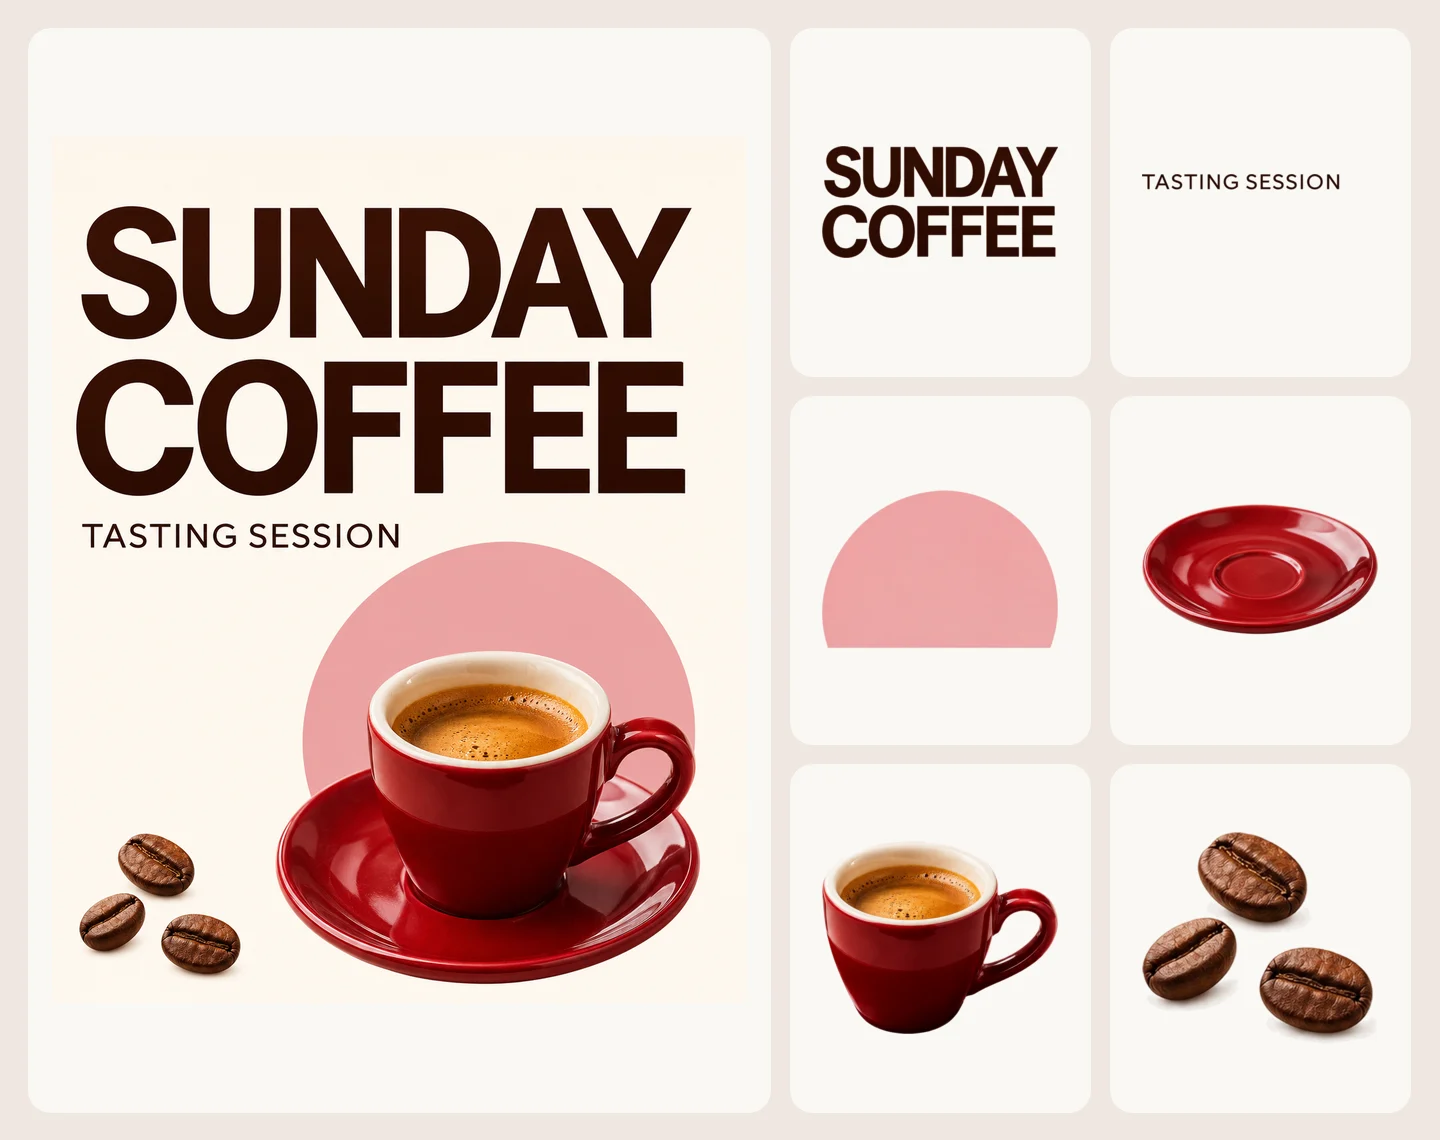
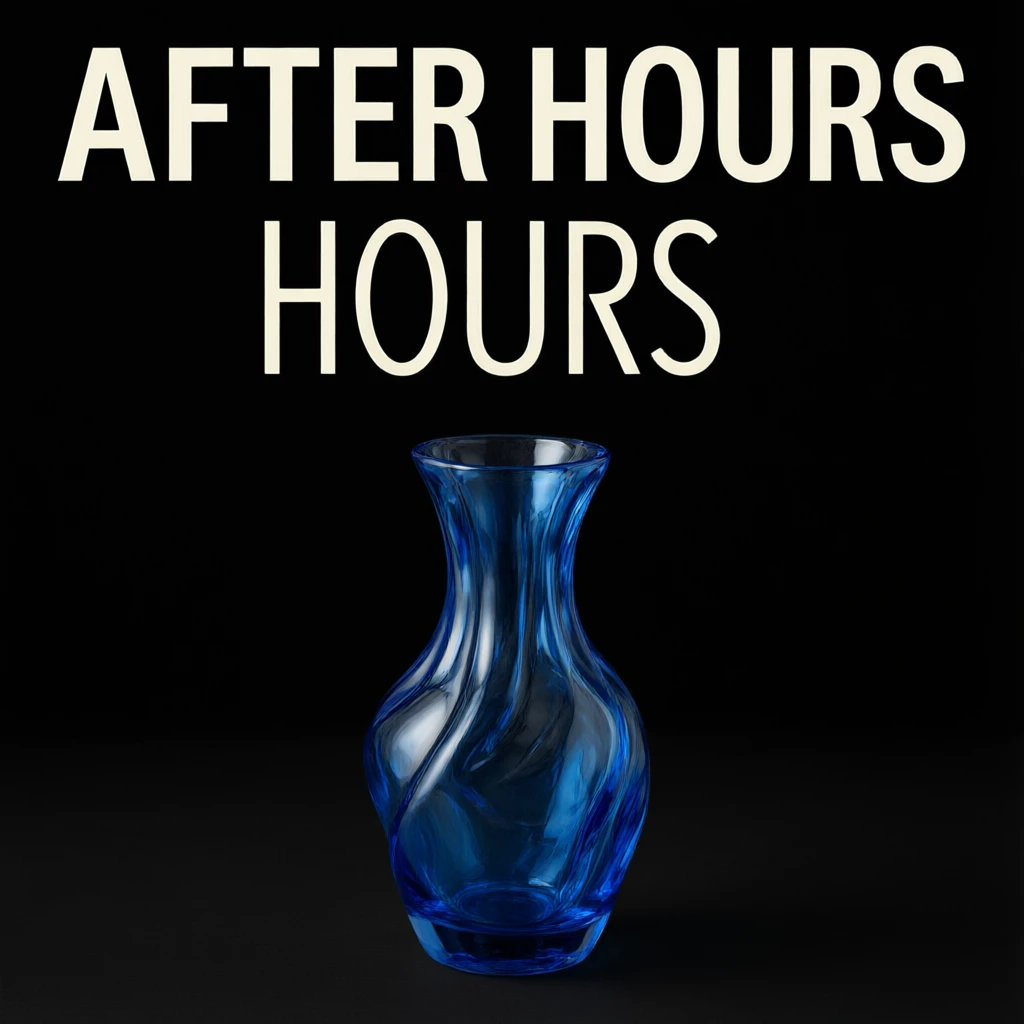
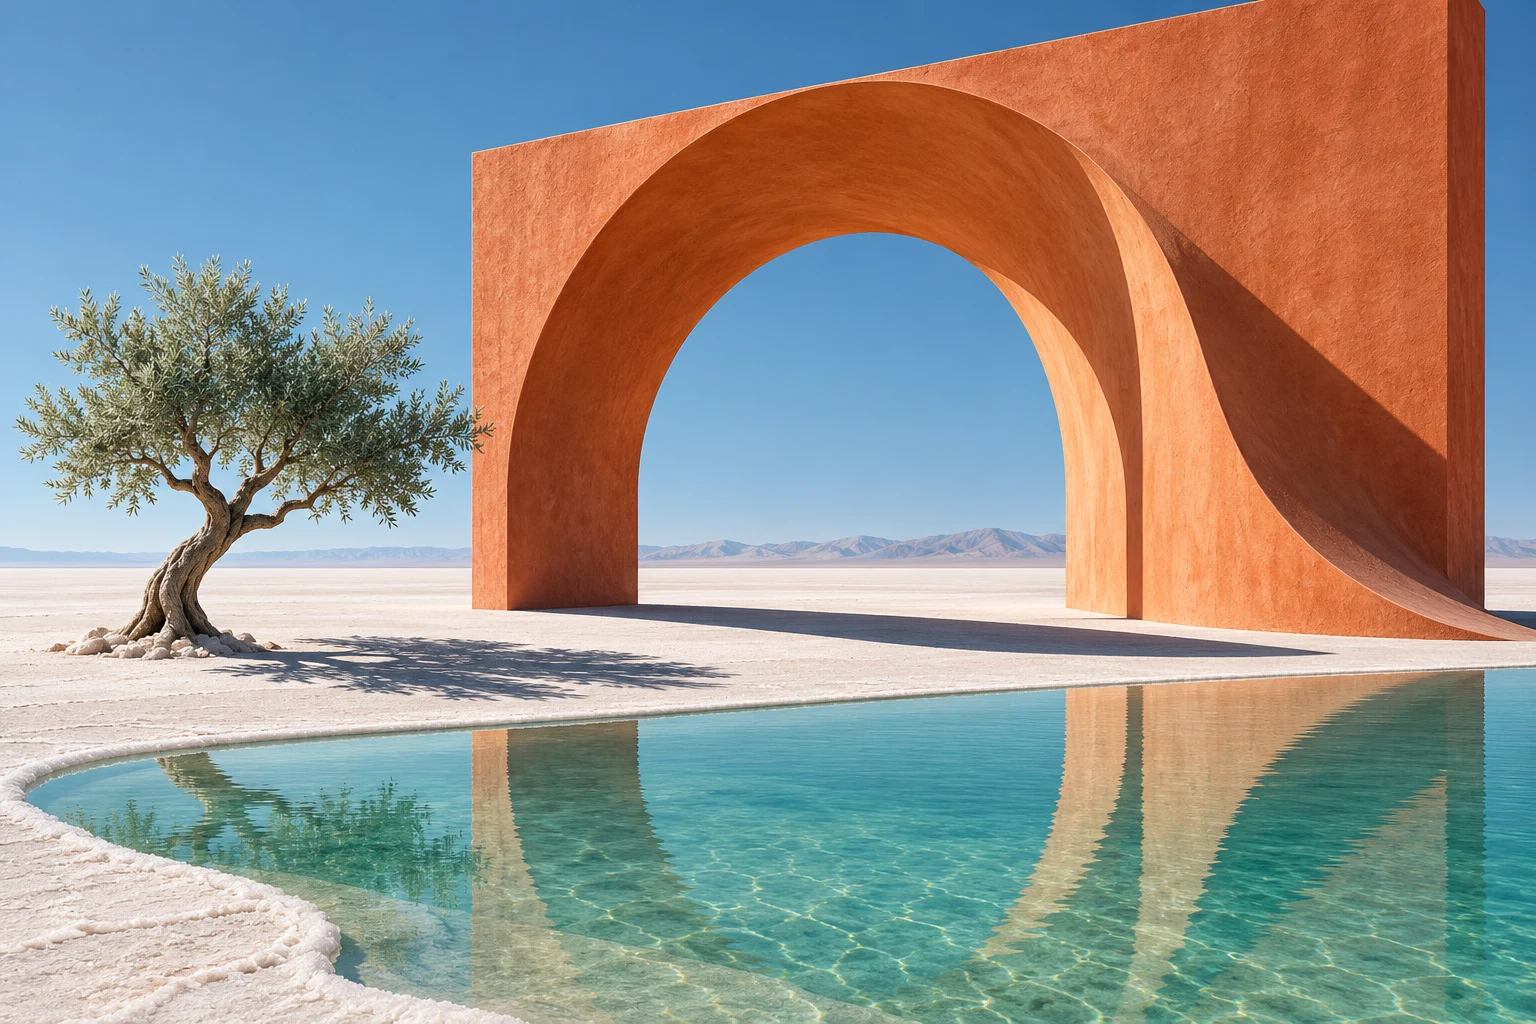
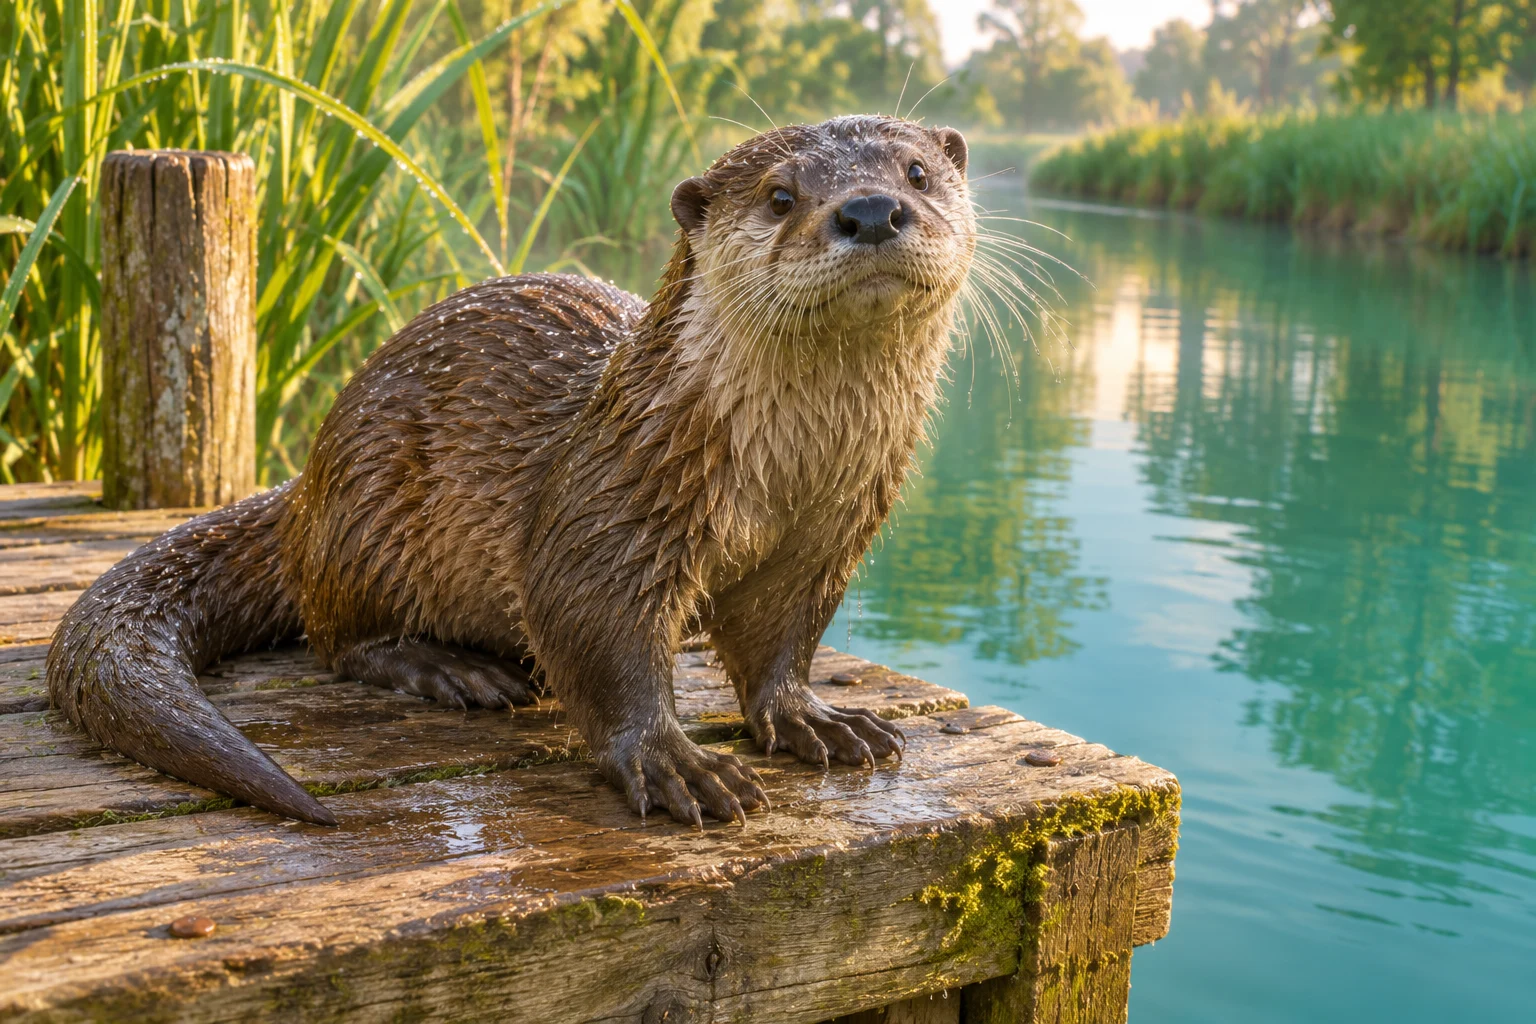
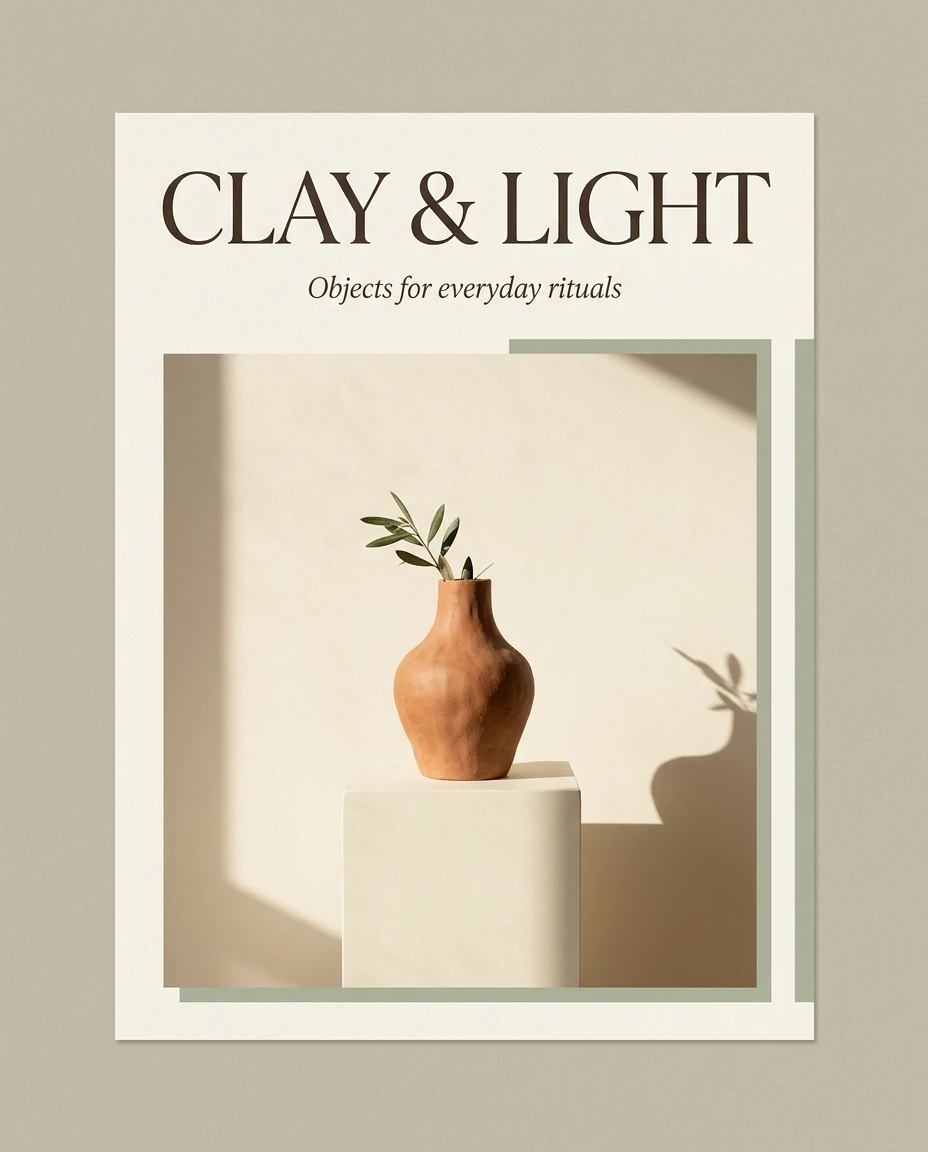
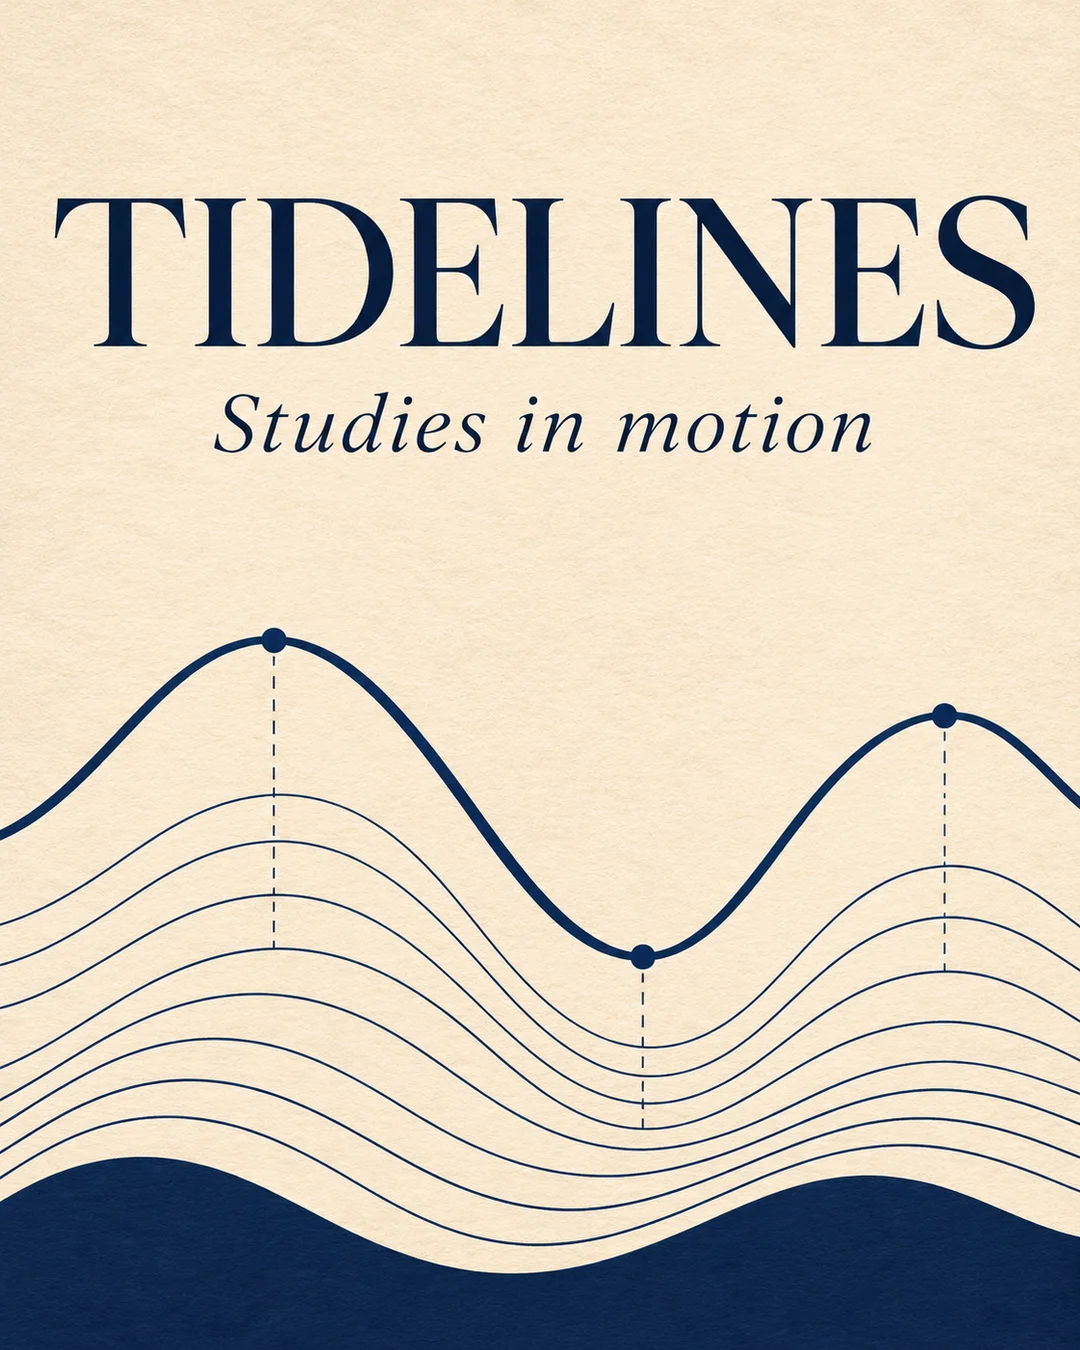
SceneFlare created these illustrations to show how to describe typography, light and texture in a prompt.
The dark blue headline stands out against warm paper, with tide lines filling the lower half. Specify the exact wording and give the main line a clear place in the layout.
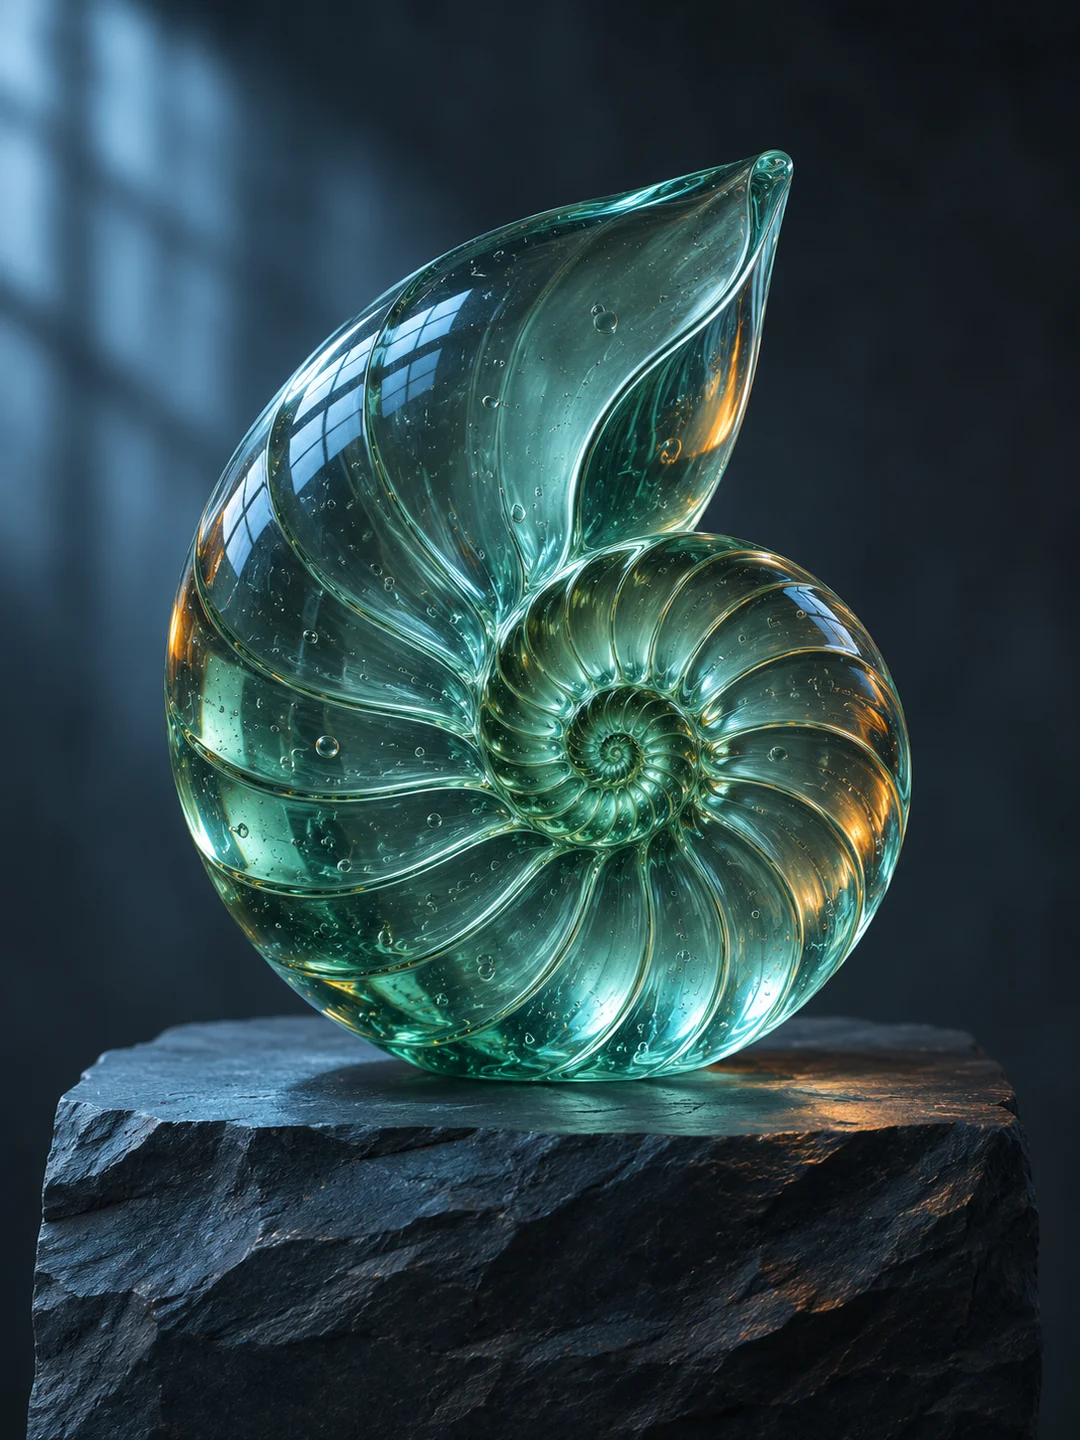
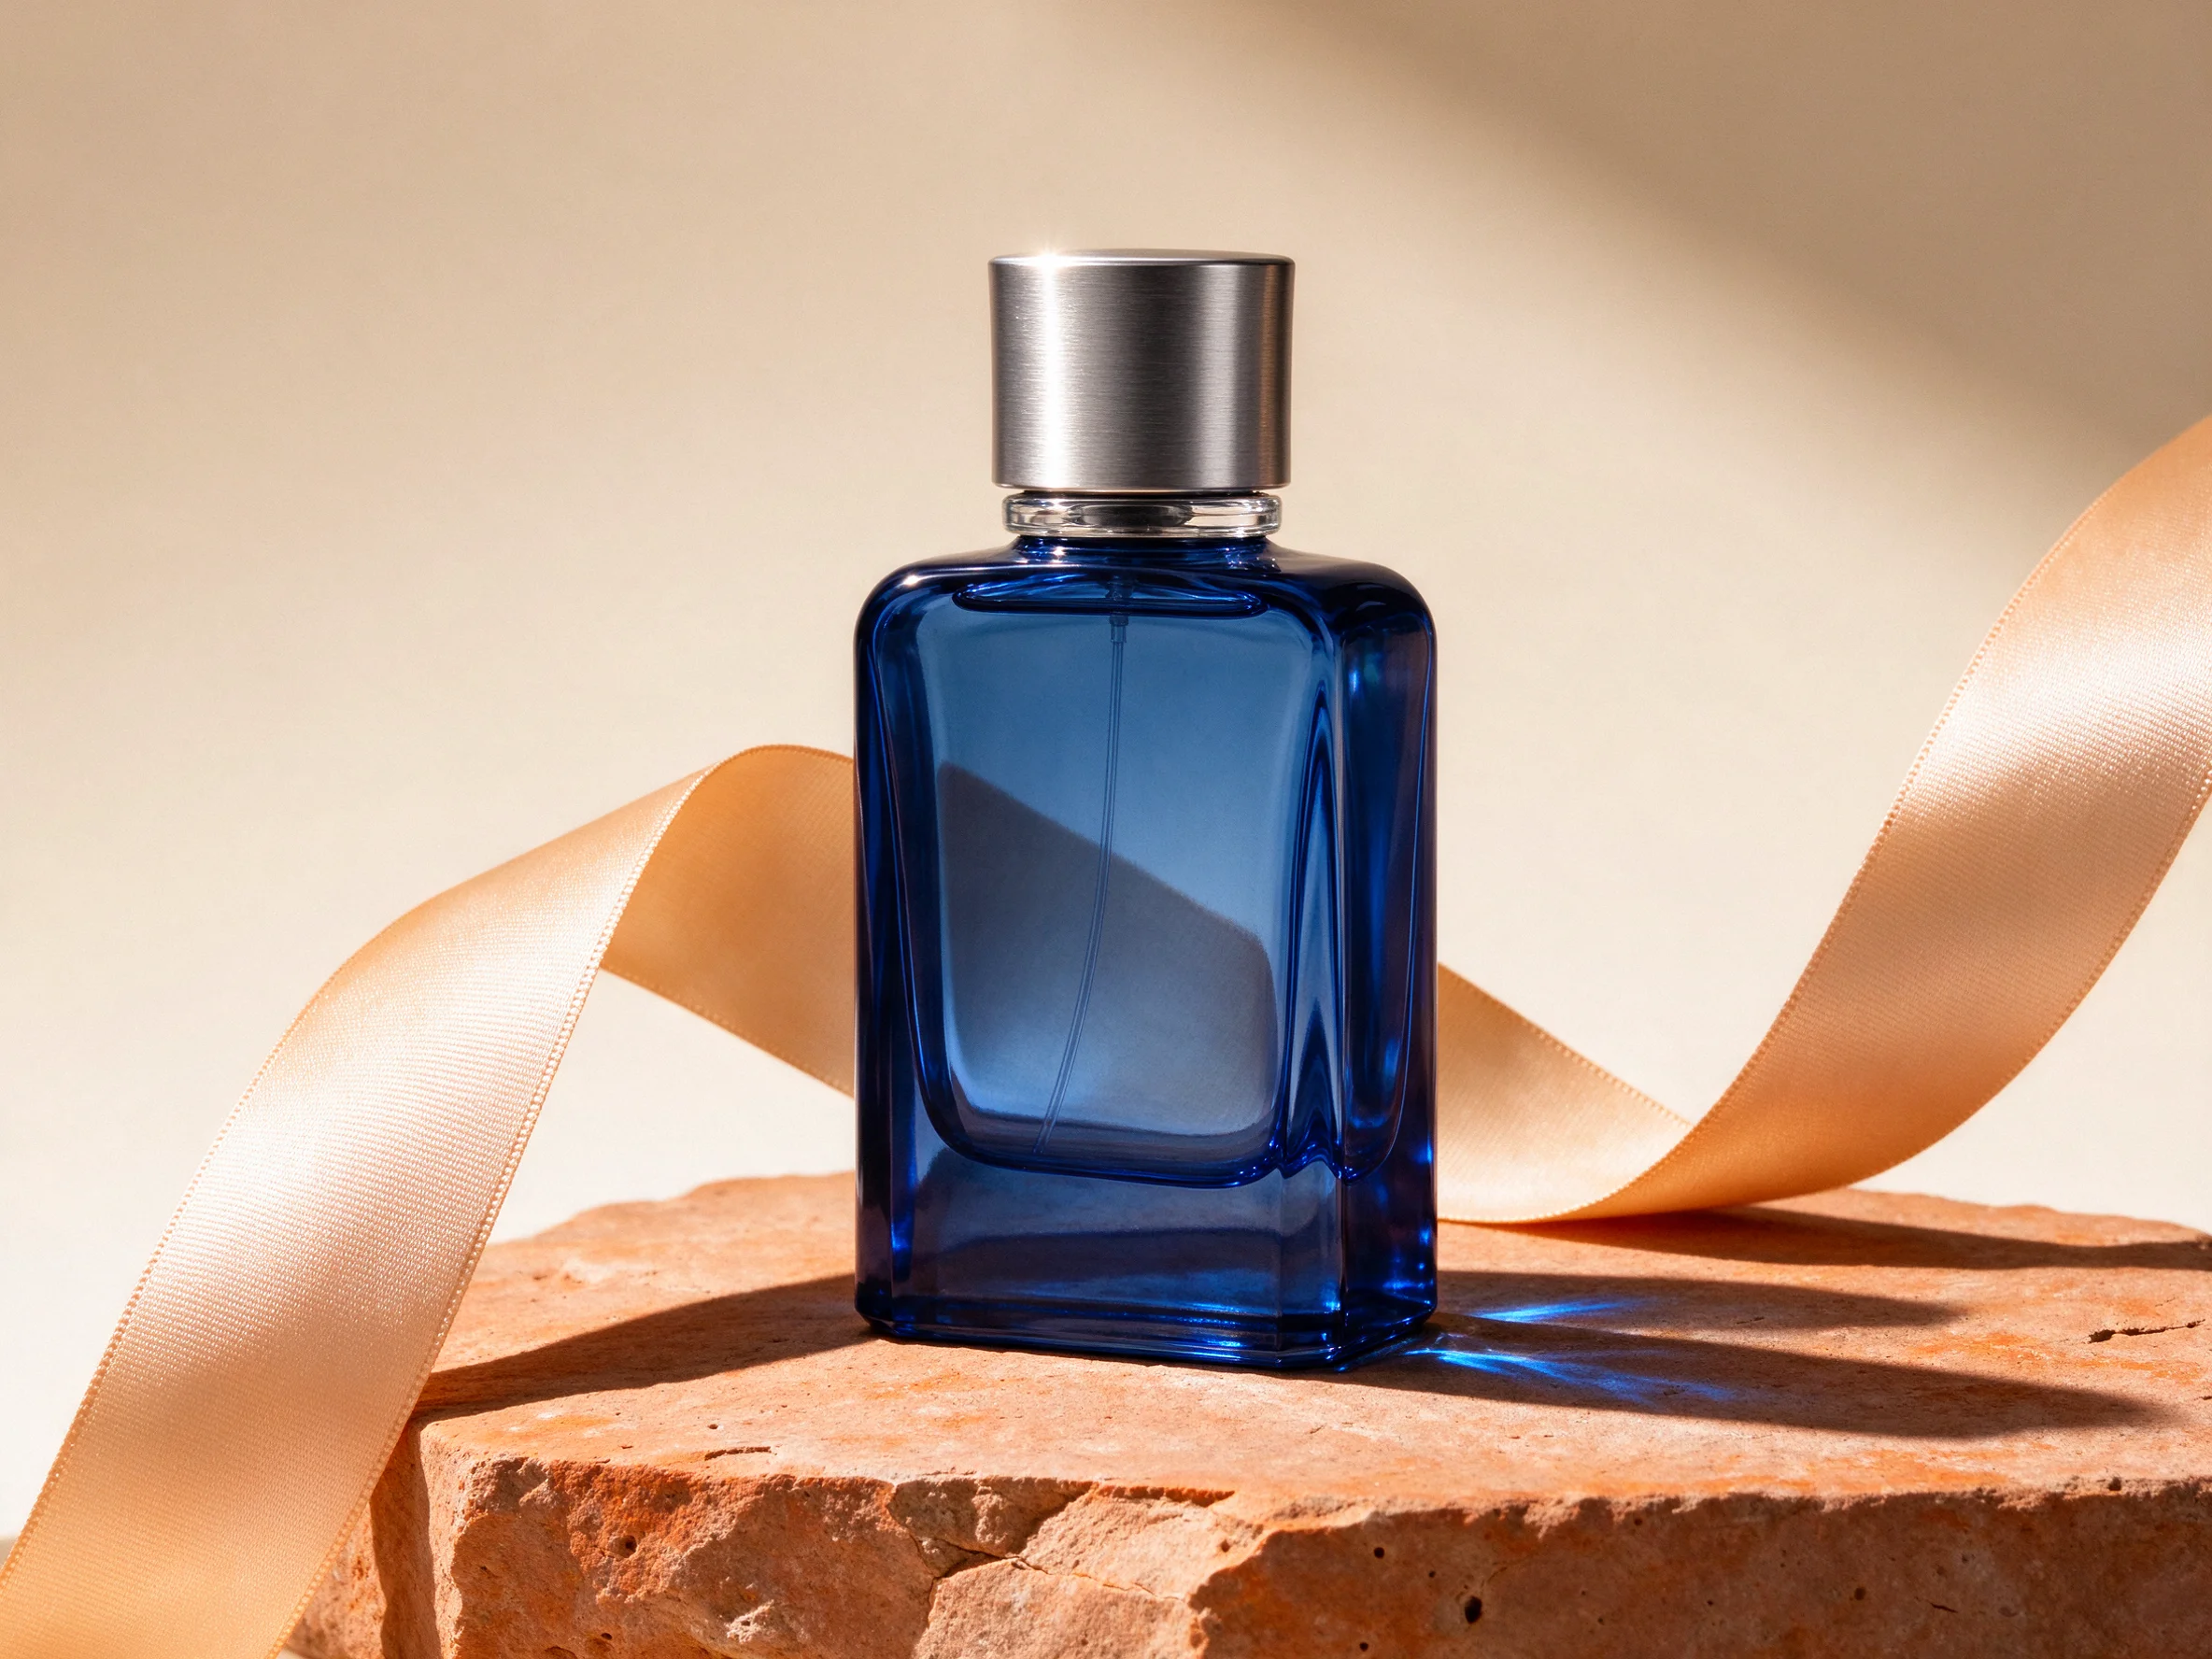
Cool light picks out the ridges of the glass shell, and warm reflections reveal its curve. Describe the material and light direction, then zoom in to inspect the edges and texture.
Choose a mode first. Use clear source media you have permission to use, identify each reference’s role, and state what should remain unchanged.
Select the smallest useful resolution, duration or image count for the first attempt. Review the displayed credits before submitting. Change one setting at a time when comparing versions.
Inspect the full image, then zoom into text, edges, reflections and object geometry. Download the accepted version and keep the prompt and settings so the next edit has a clear baseline.
This page offers still-image generation and masked editing. Transparent backgrounds are experimental. SVG and GIF controls are not provided here; inspect lettering and alpha edges before delivery.
The generator displays the site’s credit price for the selected settings. Resolution, duration, output count and reference inputs can affect it. Provider dollar estimates are not the site’s selling price. Review credits before submitting; generating another version is a new paid request.
The examples are from SceneFlare. The linked generation record documents the separate model test.
Preserve the mug, lid and camera angle while changing only the tabletop and light. Describe one edit per round so you can identify what changed.
Model versionsChoose Flare for quick iteration or Sunburst for detailed edits.
Output resolutionUse automatic sizing, an aspect ratio or custom pixels.
Image referencesAdd a matching PNG mask for a targeted edit.
TipZoom in where the edit meets the original.