
Your uploaded drawing
Use a clear scan or photograph with the full subject visible.
Preview
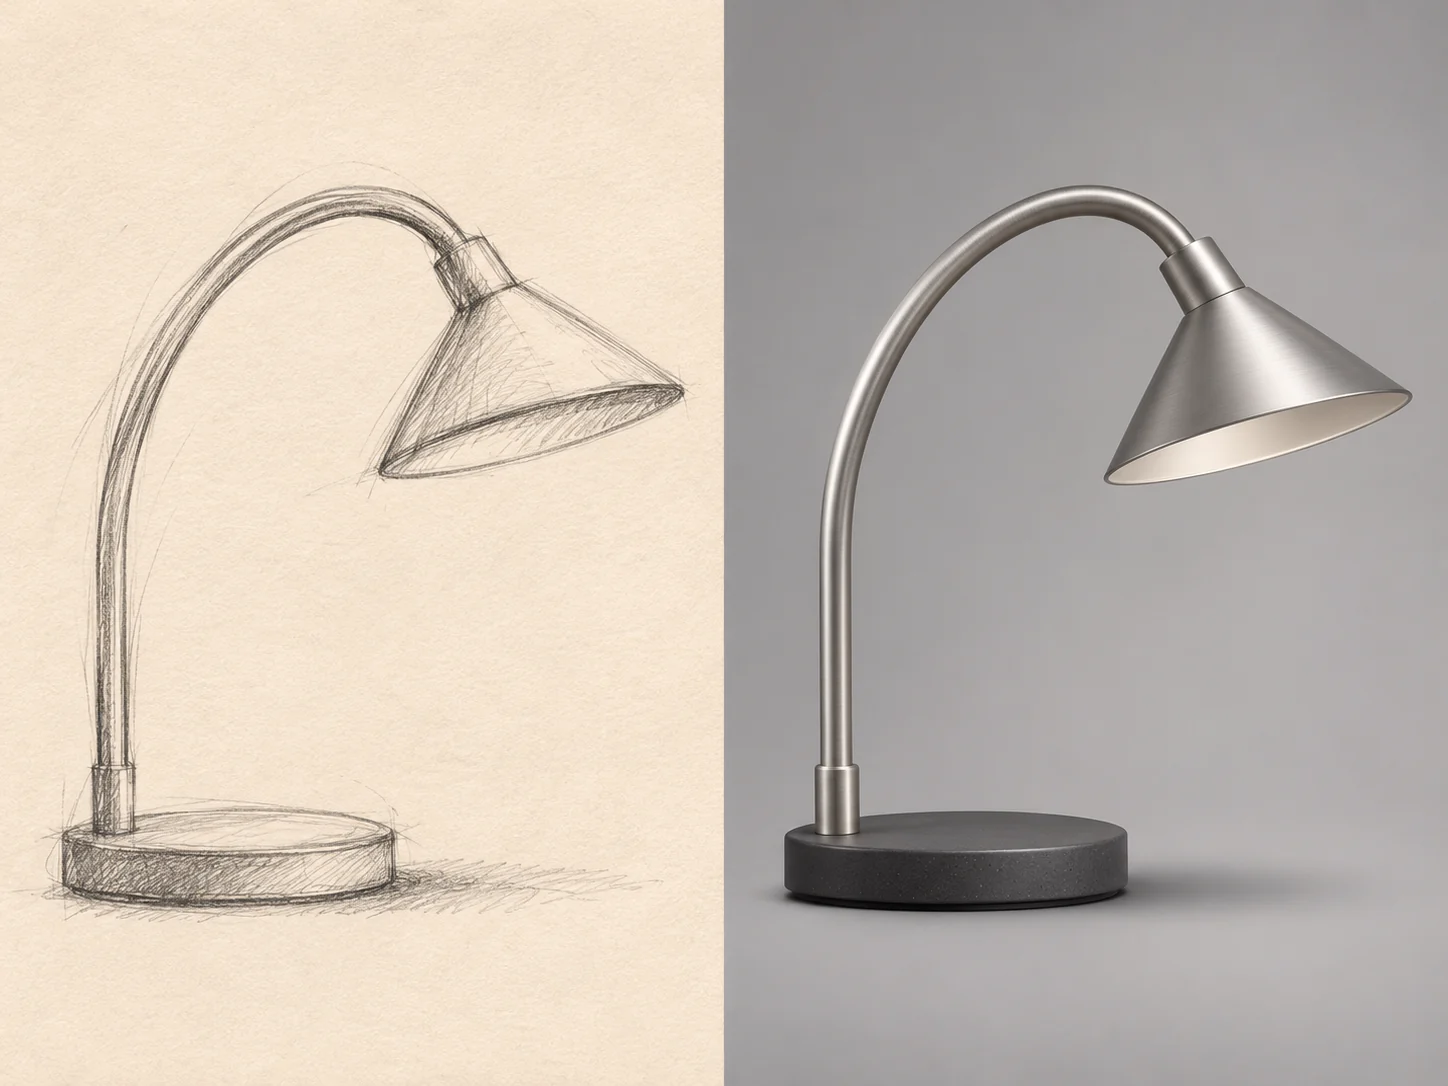
Sketch-development illustration; not a verified before-and-after result or a guarantee of structural fidelity.
Compare available image models before developing another version of your sketch.
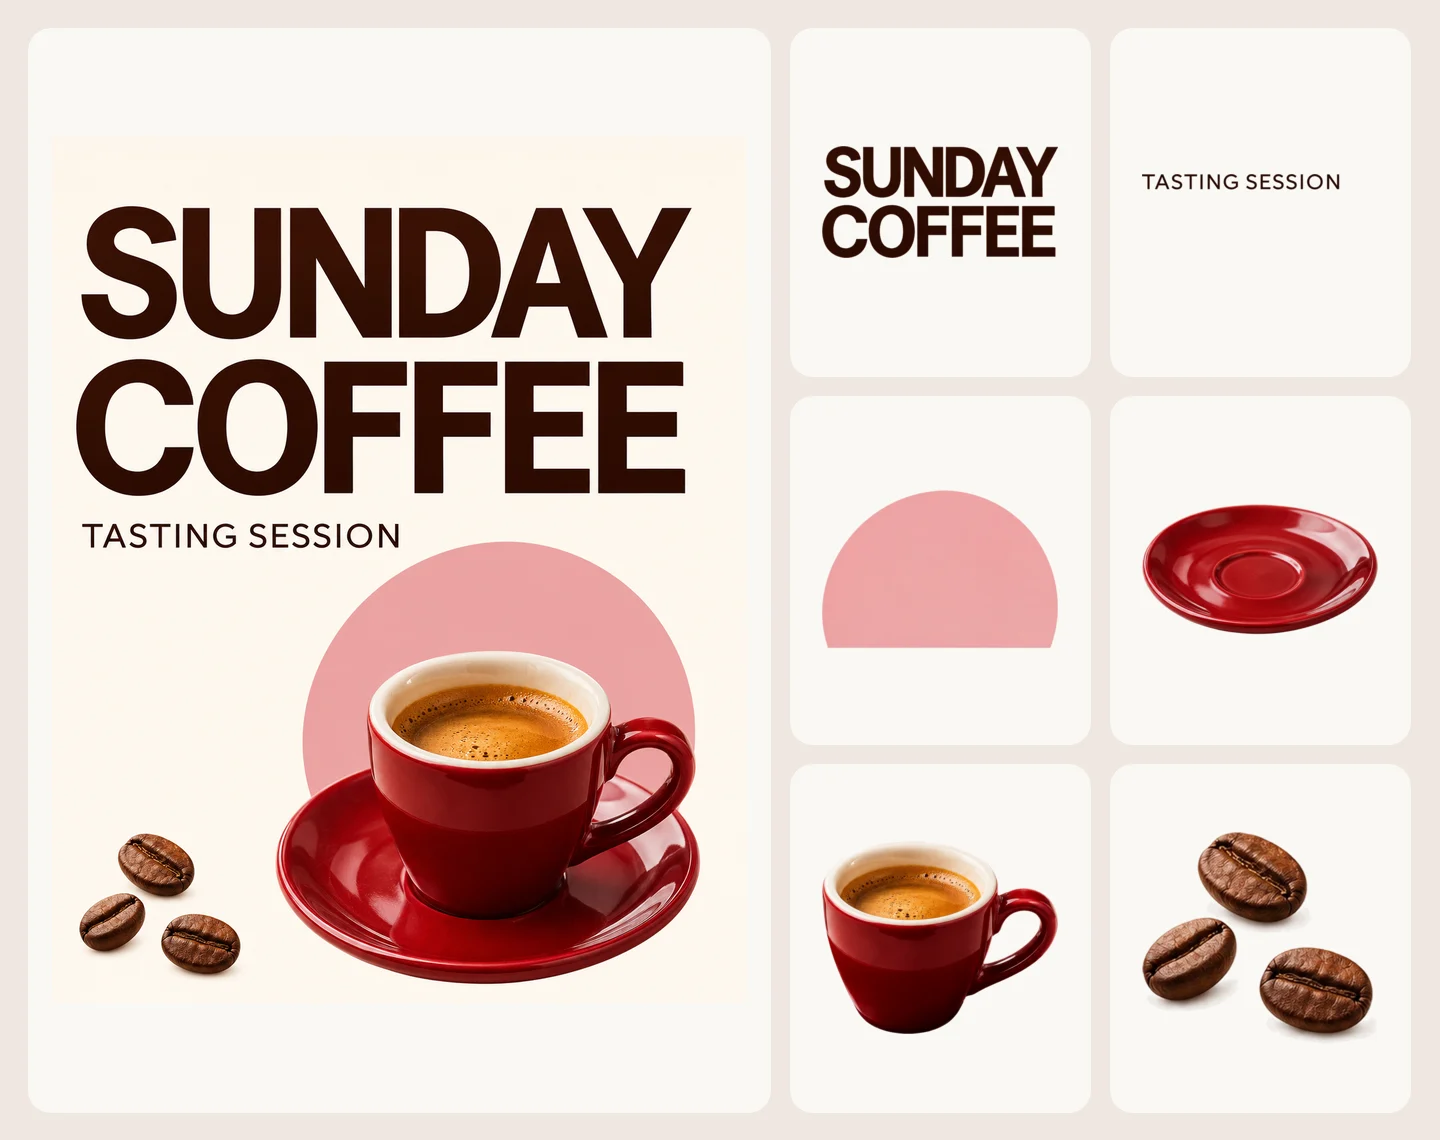
Open Seedream 5.5 Layerize in AI Image Editor.
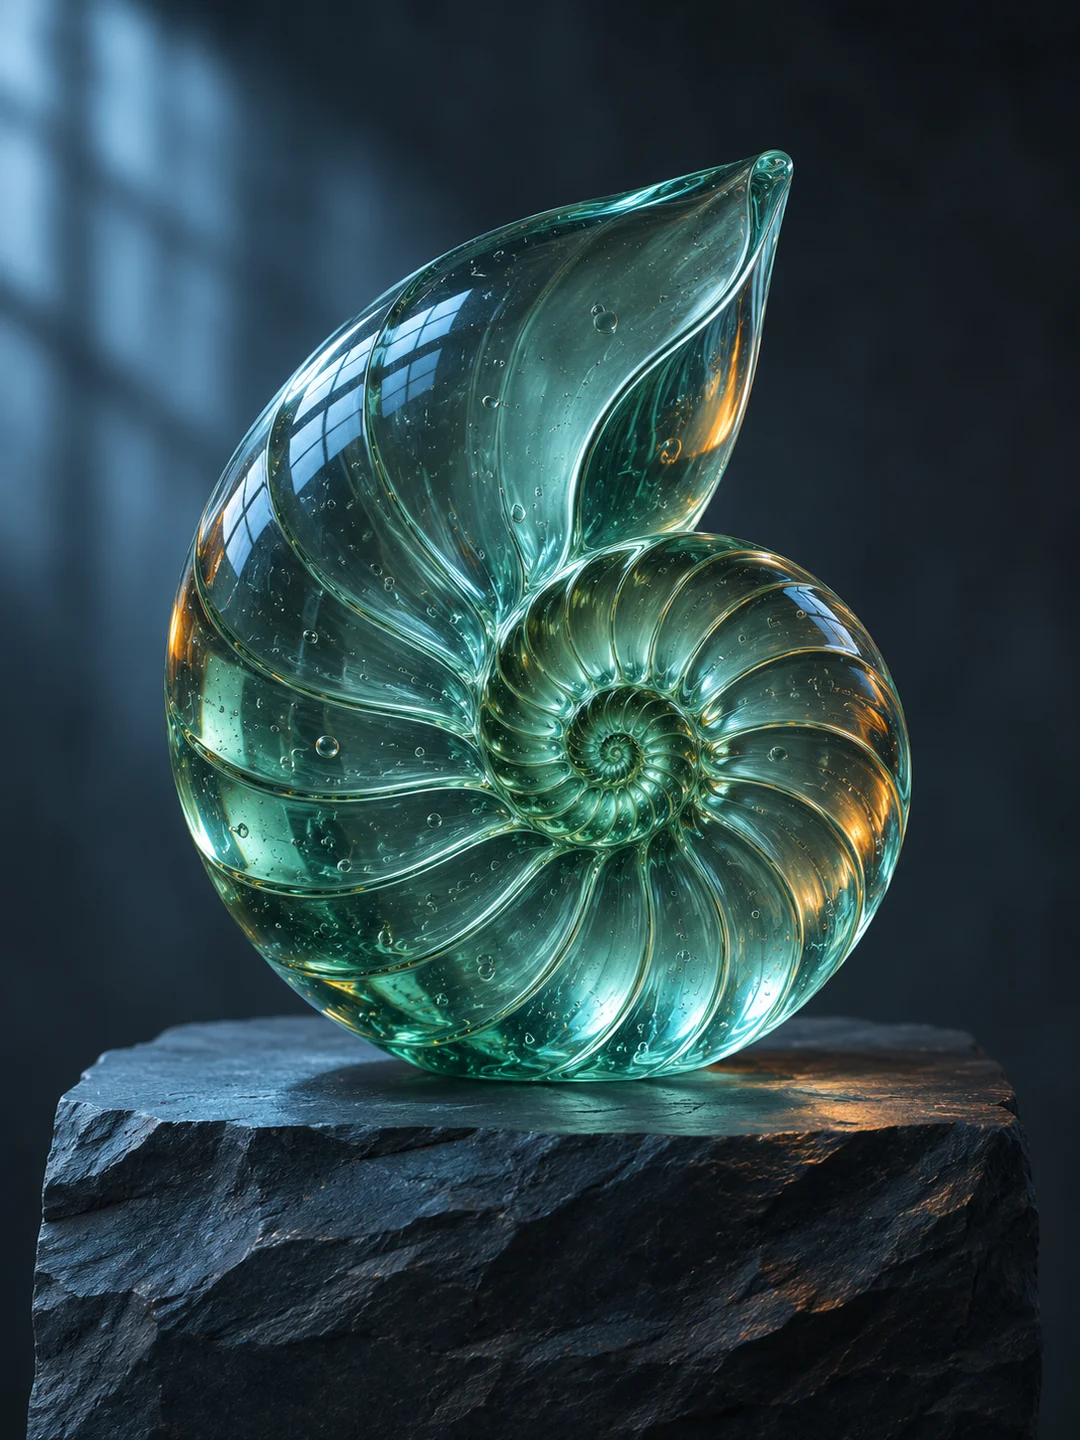
Open GPT Image 2.6 in AI Image Editor.

Open Grok Imagine Image 2.0 in AI Image Editor.
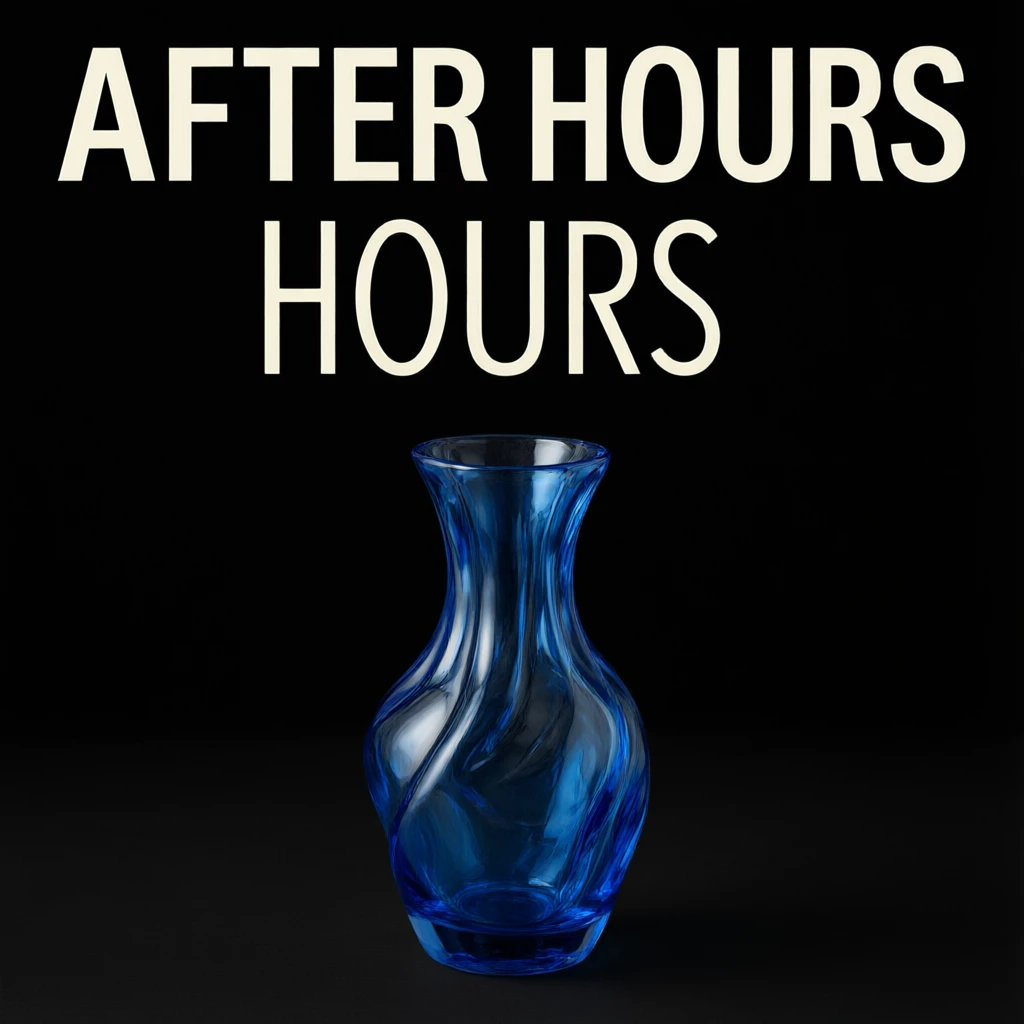
Open Qwen Image 3.0 in AI Image Editor.
Open Midjourney V8.2 in AI Image Editor.

Open Nano Banana 2 Lite in AI Image Editor.
Open Seedream 5.5 in AI Image Editor.
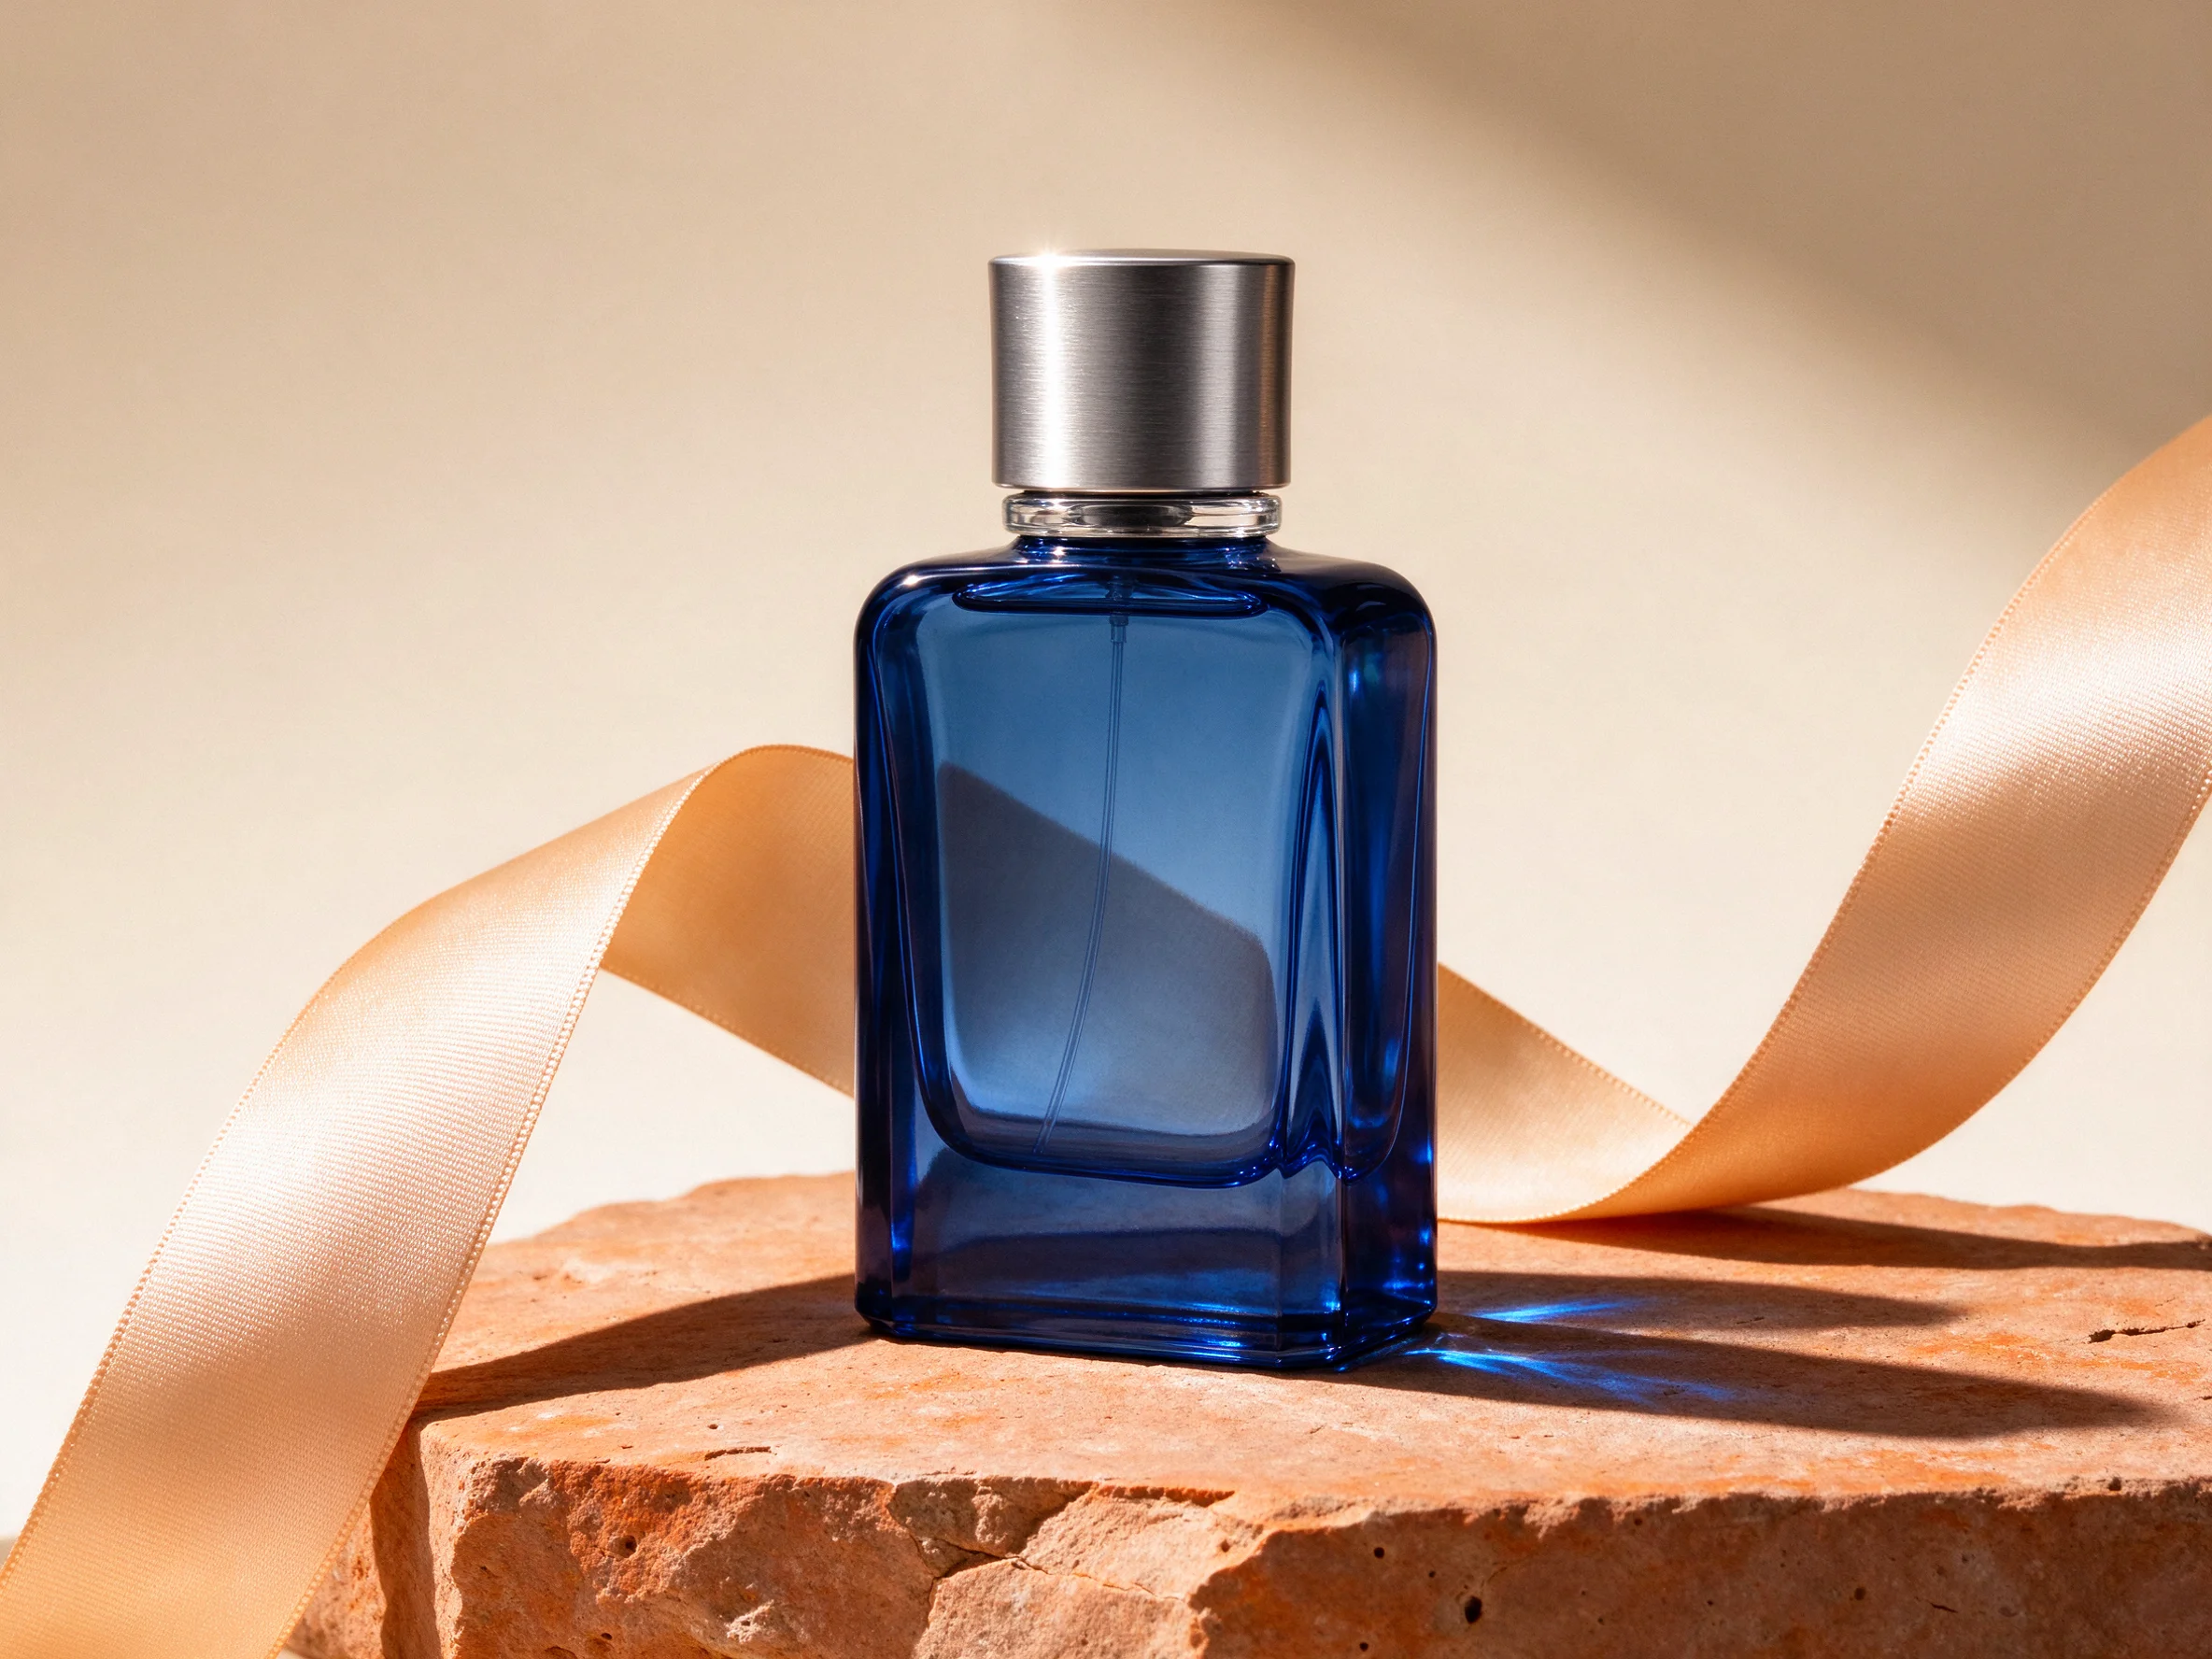
Open Seedream 5.0 Flash in AI Image Editor.
Upload a pencil sketch, line drawing or sticky-note idea as the starting image. Add a short prompt describing the style, materials and lighting you want. Explore a fuller visual treatment for a product, room, character or package, then compare the result with your original drawing.
Use a clear scan or photograph with the full subject visible.
Specify style, materials and lighting, plus the shapes you want to keep.
Check proportions, viewpoint and important details in every version.
The drawing supplies the idea; your prompt describes how to develop its surfaces, atmosphere and finish.
Crop out unrelated notes and photograph the page evenly. Keep important contours visible; faint lines and heavy shadows can make the intended structure ambiguous.
Try wood, metal, fabric or painted surfaces with a specific light direction. Name the areas that should change and those that should remain close to the drawing.
Use a rough object outline or box sketch to study form and surface treatment. Add exact branding, measurements and production artwork separately.
Compare the pose, object proportions or room arrangement with the source. AI may reinterpret lines, so revise the prompt or sketch when key structure drifts.
Describe whether the drawing is a side view, an overhead view or a three-quarter view. Name two landmarks the image should keep in the same relative positions.
Reuse the same drawing and composition notes. Change one direction, such as soft daylight versus dramatic side light, to see how it affects the result.
Illustrative concept briefs, not verified sketch conversions. Results need review against the source drawing.
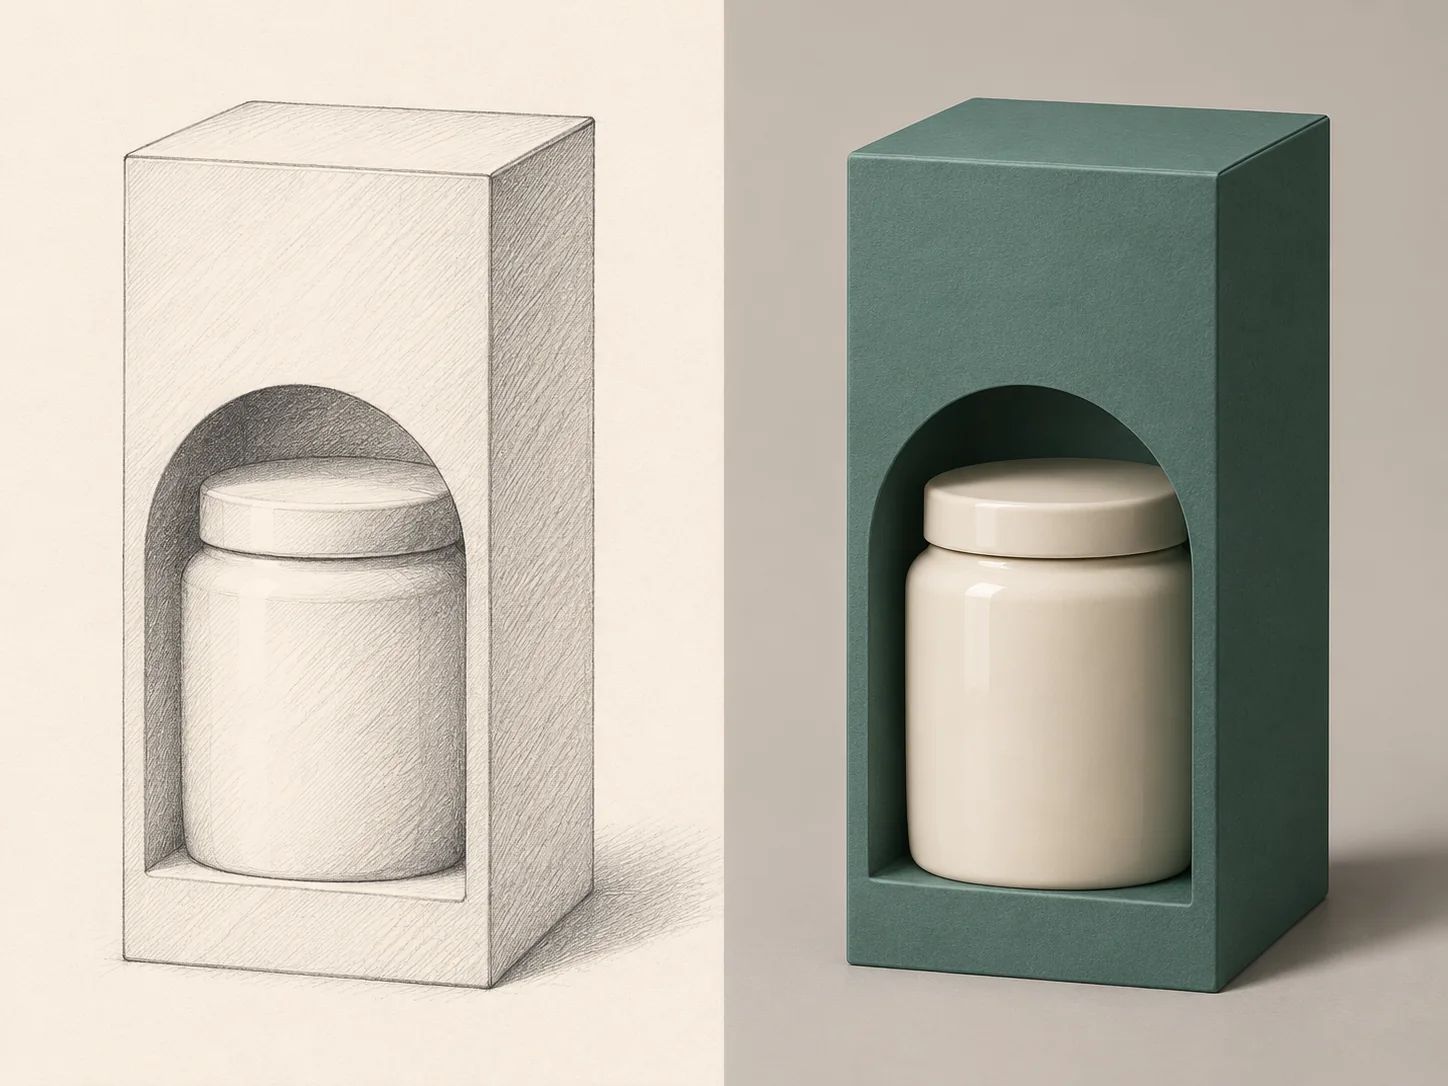
A pencil outline can anchor a discussion about surface finish, color and how a product or package might look.
Upload the object outline with important edges visible. Remove unrelated page marks.
Describe which parts use matte paper, glazed ceramic or brushed metal. Keep exact lettering out of the rendering brief.
Check seams, openings and proportions. Treat the result as a concept image, not a manufacturing specification.
A room drawing becomes a starting point for exploring materials and daylight while checking the intended arrangement.
Use a sketch with readable walls, openings and furniture outlines.
Specify floor and wall materials, a light source and the time-of-day feel you want.
Check windows, furniture and walkways against the sketch. Validate dimensions and construction details outside the generator.
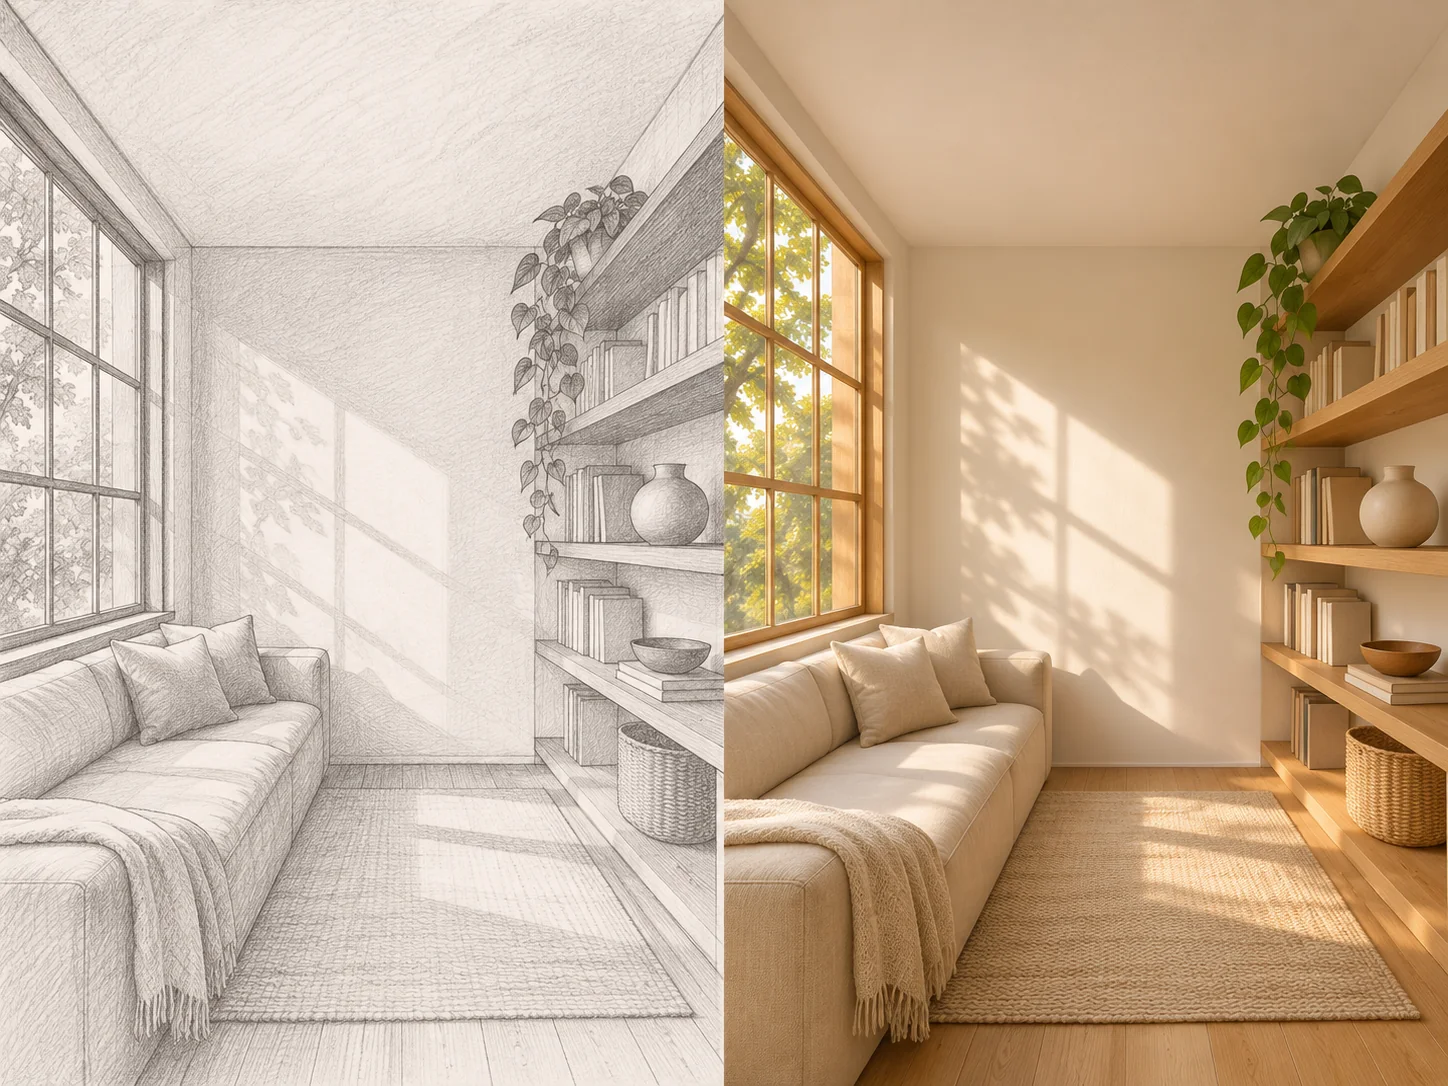
The page opens in image-to-image mode. Upload a clear scan or photo of your pencil drawing, linework or sticky-note sketch.
Describe the subject, style, materials and light. Name the pose, silhouette or layout that should stay close to the source.
Review the new image beside your sketch. Adjust unclear contours or the prompt and try another version if important shapes have changed.
Yes. This page starts in image-to-image mode and requires an uploaded image plus a prompt. Use a photo or scan of your drawing. There is no drawing canvas here; create or photograph the sketch before uploading it.
Yes, if the subject and main lines are readable. Crop the image, use even lighting and keep the whole idea visible. A sparse sketch leaves more details for the model to interpret, so explain missing parts in the prompt.
No exact match is guaranteed. The model can reinterpret contours, perspective and small details. Describe what must stay close to the sketch and compare each result with the original before using it.
Write the direction in the prompt alongside the upload: for example, matte ceramic with studio light, oak and linen in afternoon light, or a textured character illustration. These are instructions for the model, not separate material or lighting controls.
The output is a raster concept image. It does not supply CAD geometry, editable vector paths, layered design files or dimensionally accurate packaging dielines. Prepare technical drawings and final production files in the appropriate design software.
Upload the sketch, describe a finish and compare the generated concept with the structure you intended.
InputScan or photograph
PromptStyle, material and light
ReferencePose, outline or layout
ReviewCheck against the drawing