6 AI Product Photography Prompts: Backgrounds, Lighting and Detail
Six reference-image prompt templates with input requirements, inspection points and failure corrections for catalog backgrounds, lifestyle scenes, lighting, reflections, detail crops and banners.
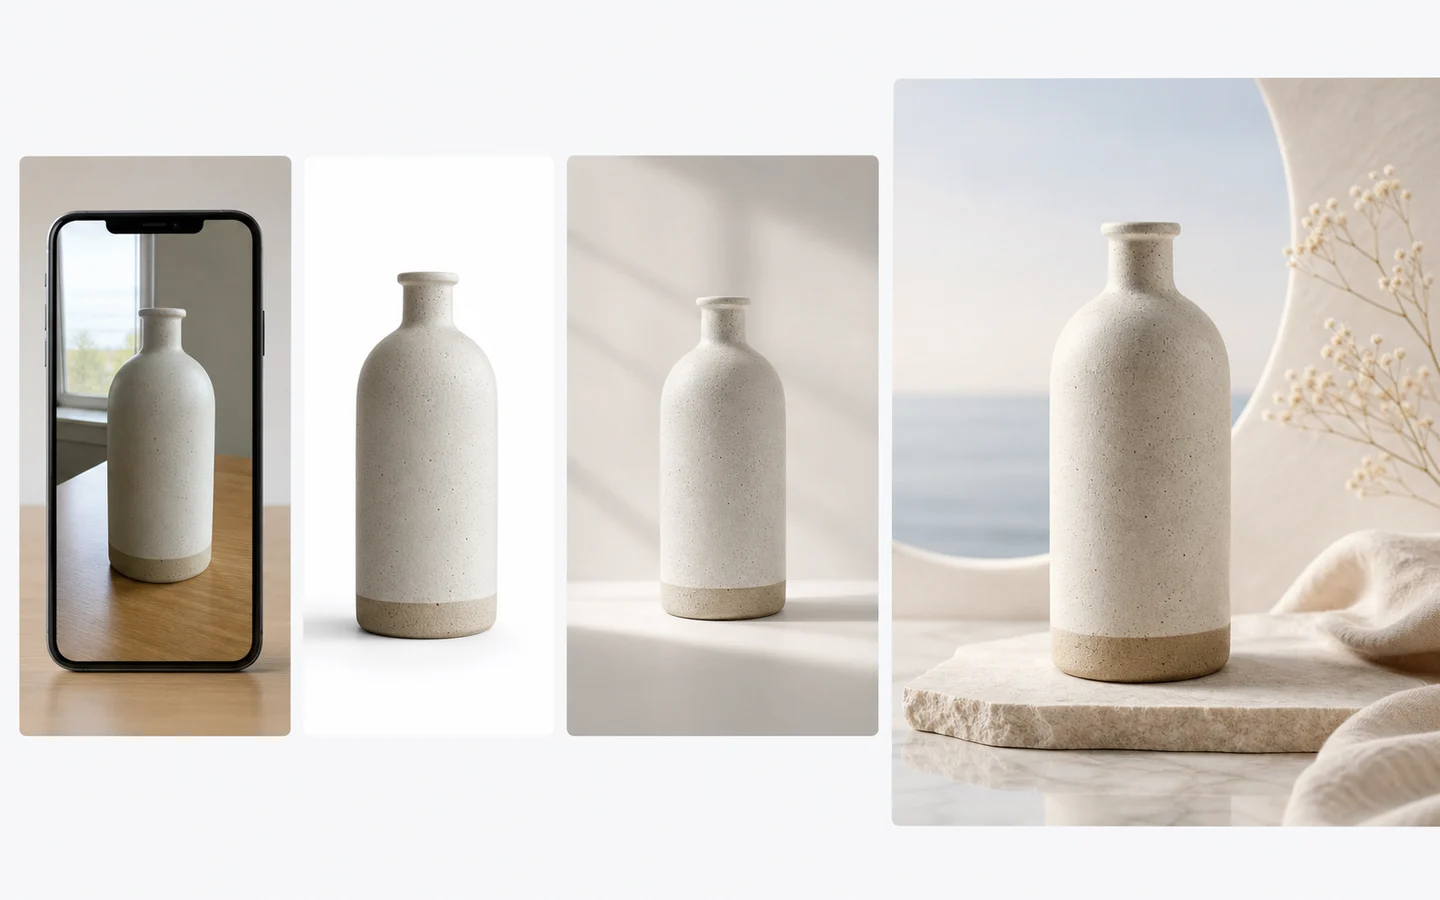
For an actual product, start with a photo of the exact item you sell. A prompt can describe a new setting, but it cannot establish the real shape, wording or finish of a product the model has never seen. Choose Image to image, upload the reference, and separate what must stay from the one thing you want to change.
The six templates below cover different publishing jobs. They are editable editorial templates, not results from a new model test. Bracketed fields need your own details, and a preservation instruction is not a guarantee that the resulting pixels will match the source.
Use the product photo workflow to choose between catalog and lifestyle work. For a narrower background or lighting change, use the AI Image Editor.
Prepare a reference you can approve against
Pick the correct SKU and color variant. The image should show the outline, lid or closure, visible controls and any wording that matters. A hidden connector or blurred label is missing evidence; a longer prompt does not replace another real photograph.
Keep an untouched copy of the source. Decide the destination, aspect ratio and crop before generating. A store banner with copy space and a marketplace main image have different jobs, so make them separate deliverables.
Shopify’s photography guide explains a practical source setup using a stable camera, a simple background and controlled light. Consistency in the reference makes later comparisons easier.
Use this brief structure:
Source: the uploaded photo of [exact item and variant].
Keep: [outline, viewpoint, wording, finish, component count].
Change: [one background, light or framing task].
Composition: [destination ratio, crop and allowed empty space].
Exclude: [the two or three changes that would make this unusable].
The inspection criteria belong beside the prompt, even though they are not model controls. Save them with the approved output so another person knows what was checked.
1. A clean white catalog background
Use when: the source already shows the correct product view and you want fewer background distractions. Start with a whole, unobstructed item; do not combine background cleanup with a new camera angle.
Use the uploaded photo of [item and variant]. Replace only the surroundings with a plain white background. Retain the existing viewpoint, product outline, color, label wording, cap and number of components. Keep all product edges inside the frame and add a restrained contact shadow beneath the item. No props, extra packaging, promotional text or new logos.Inspect: open the exported file at full size. Compare every label word, the cap seam, edge halos and the shadow. If the destination requires an exact background value, measure it in an image editor. Writing “pure white” or #FFFFFF does not verify the output.
If it fails: return to the original and limit the request to the surroundings. If exact product pixels are essential, preserve them with a conventional selection or compositing workflow. A visually white background also does not prove that a file has transparency; background removal is a separate task.
2. A restrained lifestyle setting
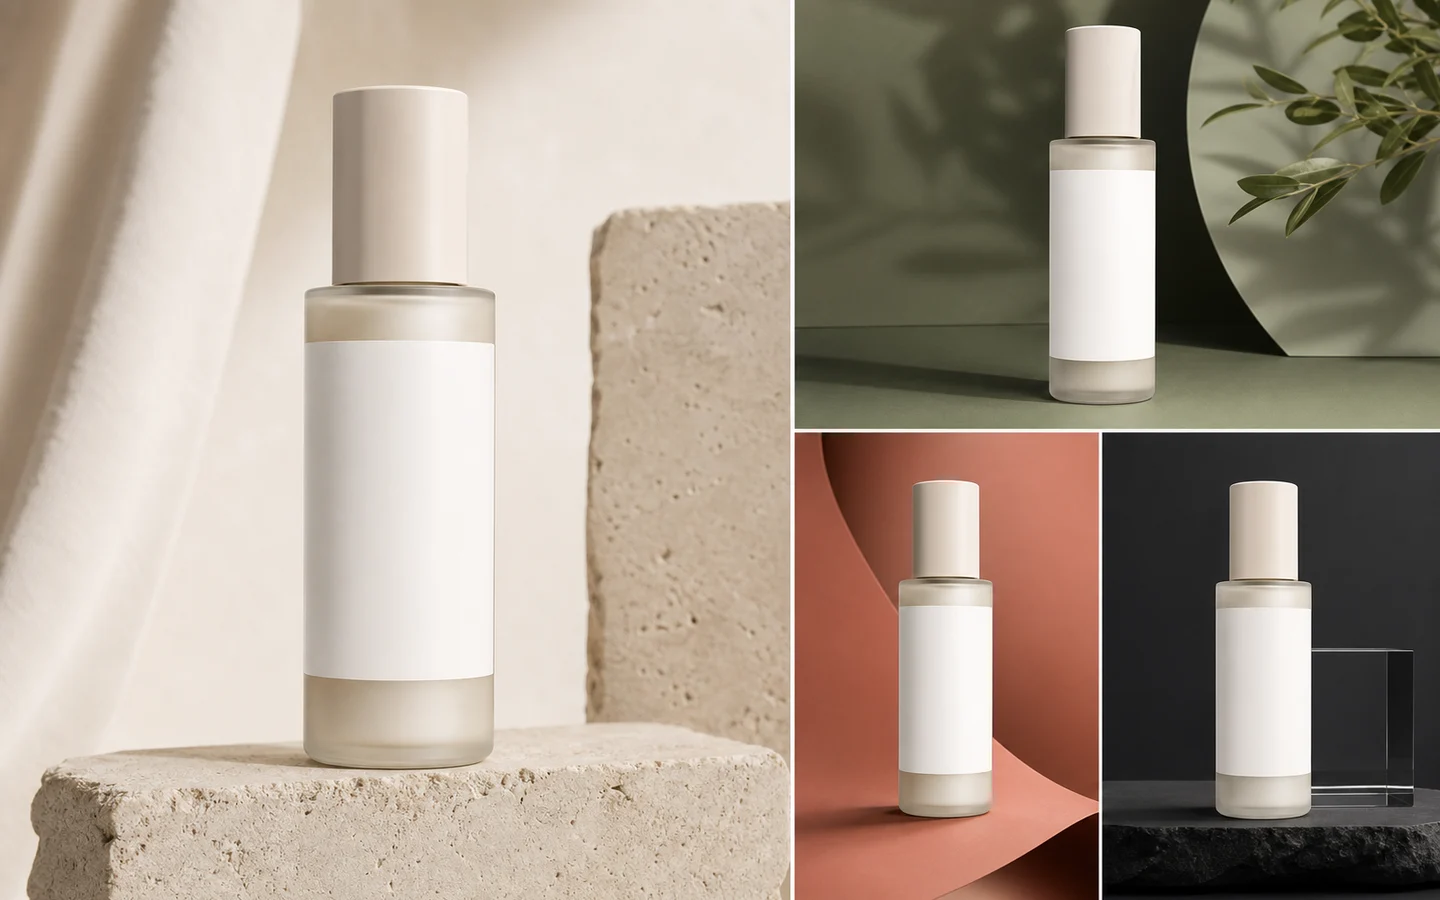
Use when: an in-context image helps explain where the item belongs. Choose one surface and one light direction, with space around the product rather than props across it.
Keep the uploaded [item] and its current viewpoint, proportions, finish and visible wording. Replace the surroundings with a quiet [desk / bathroom shelf / kitchen counter]. Use a [light wood / pale stone] surface and soft window light from the left. Keep the entire product unobstructed. Add no people, hands, extra accessories, ingredient props or advertising claims.Inspect: compare product scale, controls and material with the source. Check whether the contact shadow makes sense on the new surface. A convincing room is not enough if the item has become a different design.
If it fails: remove decorative instructions first. Keep the original view instead of requesting a dramatic low angle. Props must not imply that accessories are included or that the product has an ingredient or certification it does not have.
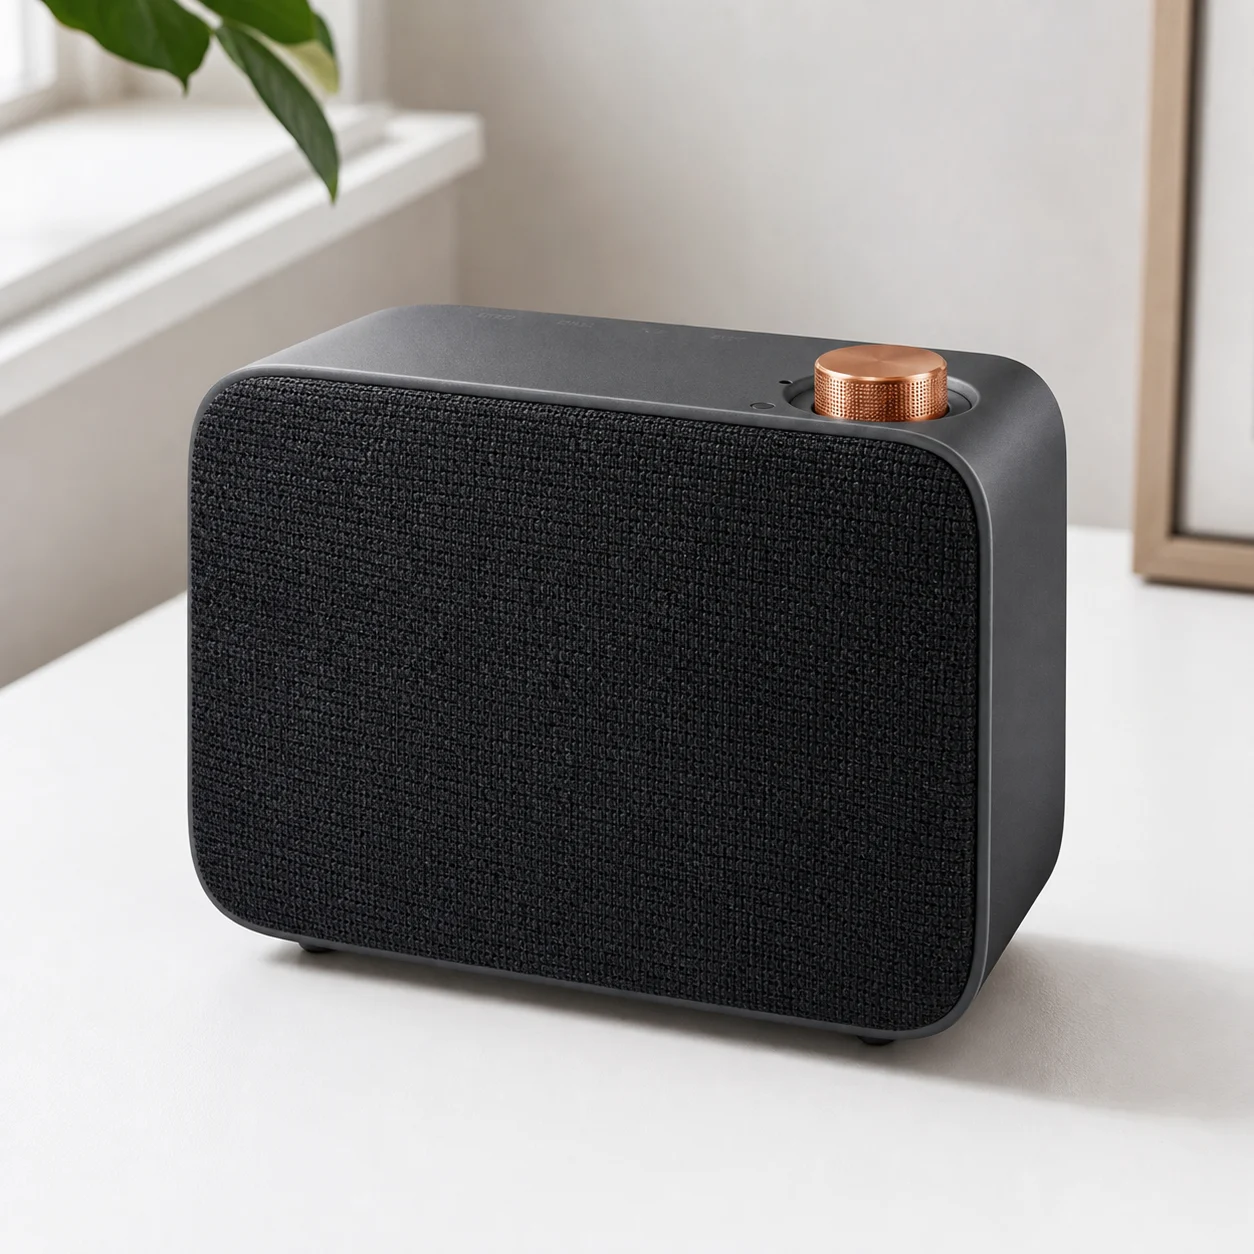
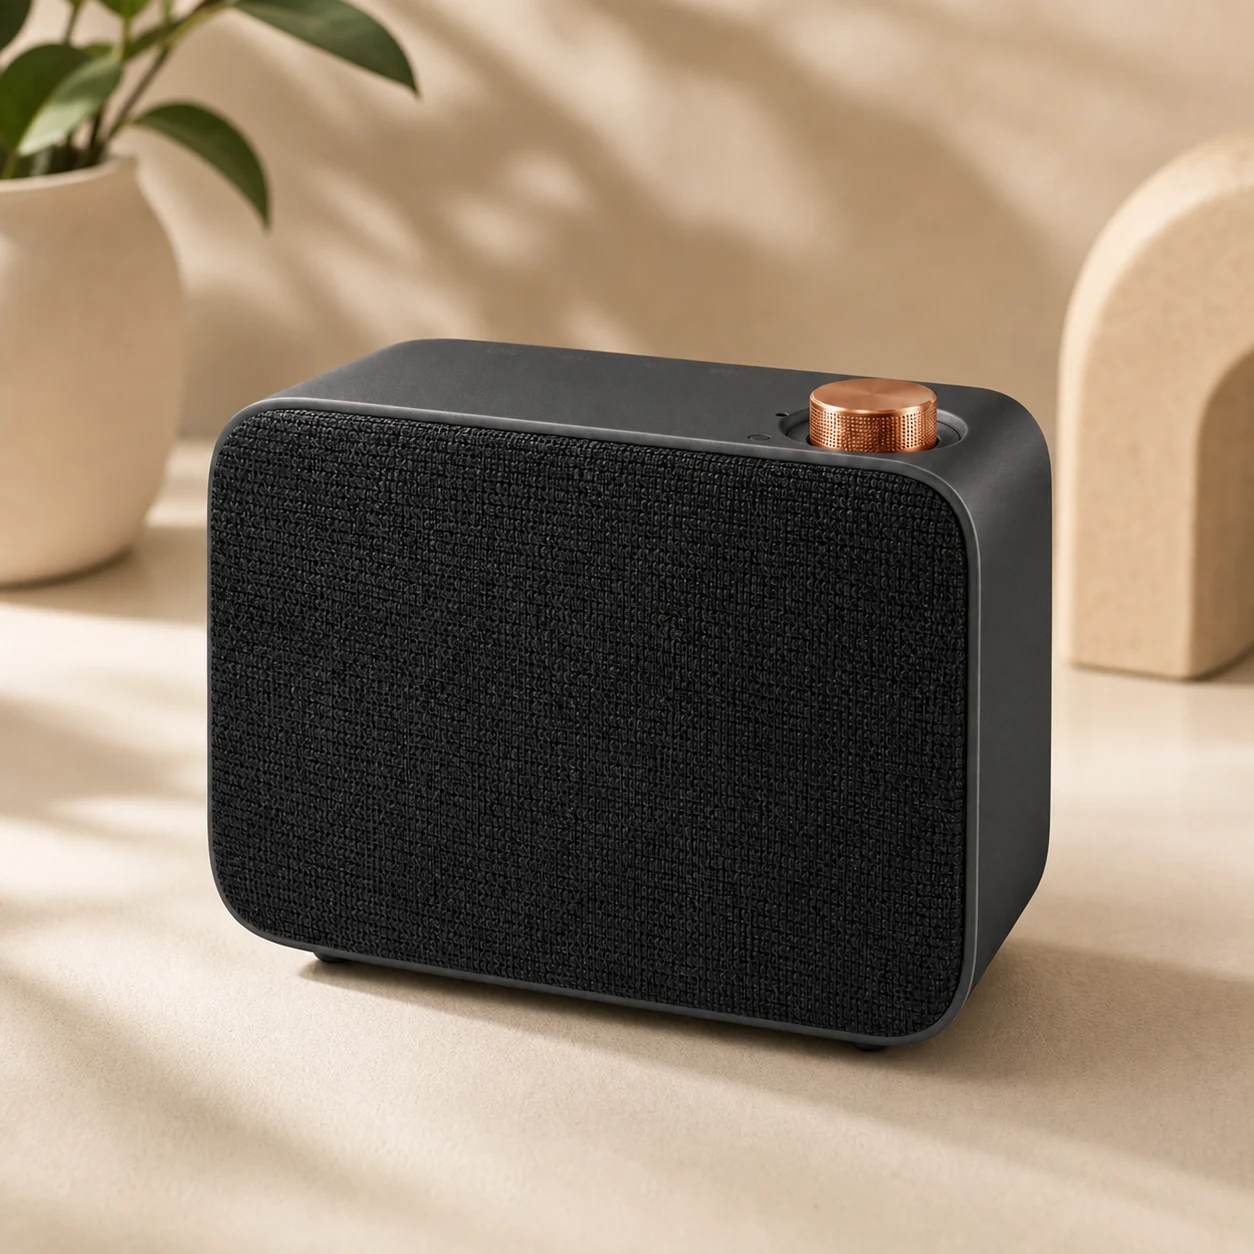
These existing project illustrations show a setting change. They are not newly generated for this guide or proof of a particular model's accuracy. Compare the dial, grille and outline yourself; any redesigned control would disqualify an image of a real SKU.
3. A limited lighting or color-cast correction
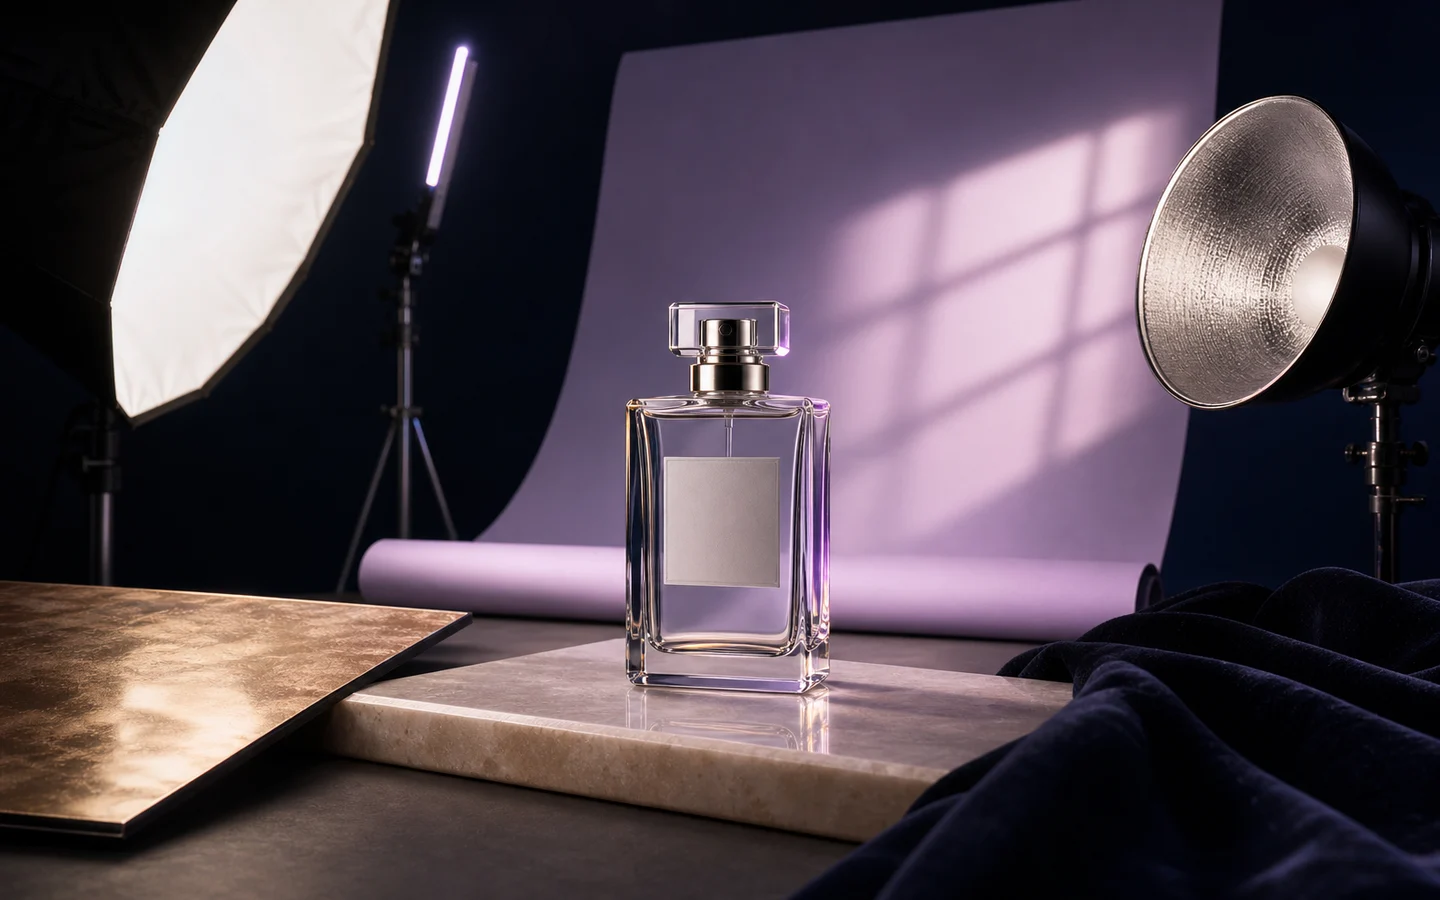
Use when: the source is sharp and the product shape is already suitable, but the image looks too warm, cool or contrasty. Do not ask for a new material finish at the same time.
Use the original product photo. Reduce the [yellow / blue] color cast in the scene and soften the harsh highlight on [visible area]. Preserve the product's actual [color], surface finish, label wording, outline, viewpoint and crop. Keep the existing background and light direction. Do not make matte material glossy or brighten the product into a different color variant.Inspect: compare the result with a trustworthy product reference, not merely with the attractive colors on screen. Look for changes in pale packaging, colored fabric and reflective edges. Relighting that changes the apparent finish can misrepresent the item.
If it fails: choose one correction, such as the background cast, instead of requesting complete studio relighting. Missing detail in a clipped highlight may need a better source photo. Generated texture is not recovered evidence of the real surface.
4. Controlled reflections on glass or metal
Use when: the source clearly shows the rim, joints and material. Glass and metal need some reflections to remain readable; “remove every reflection” can produce an implausible object.
Use the uploaded photo of [glass / metal item]. Keep its rim thickness, joints, visible engraving, proportions, camera view and actual finish. Simplify distracting reflections into broad soft highlights consistent with the current light direction. Retain readable edges and a believable contact shadow. Do not add chrome, erase seams, invent transparent parts or change the liquid level.Inspect: count rims, handles and joints. Compare the reflection with the background and look for missing edges. Check that brushed metal has not become mirror chrome and that glass has not gained a second wall or an invented fill line.
If it fails: reduce the background change and preserve more of the original lighting. When reflections carry important information about finish or construction, a controlled reshoot or manual retouch may be the more suitable route.
5. A detail crop from a visible view
Use when: the source already contains the detail you want to show. This prompt is for reframing a visible seam, texture or control, not for generating a factual view of the unseen back of a product.
Use the original photo without changing its viewpoint. Make a closer composition around the visible [seam / control / material area]. Keep the real component count, spacing, wording, texture direction and product color. Do not reveal a new side, add ports, reconstruct hidden lettering or invent surface detail. Leave enough surrounding product visible to explain where the detail belongs.Inspect: compare small controls and text at full size. If the source does not resolve a fine texture, a detailed generated version can still be fictional. Check the final crop at its intended display size as well.
If it fails: crop the original in an image editor or capture a closer photograph. Extra apparent sharpness is not proof that a technical detail is correct.
6. A store banner with space for copy
Use when: you know the banner layout and which side needs empty space. Keep text as a later design step so you can control spelling and responsive placement.
Use the uploaded product photo. Keep the product's existing view, geometry, visible wording and finish. Extend the surroundings into a quiet [background] for a [landscape ratio] store banner. Position the product on the left with clear empty space on the right, using soft light consistent with the source. No generated headlines, badges, prices, duplicate products or added accessories.Inspect: place the candidate in the actual layout. Check mobile cropping, product visibility and the space reserved for copy. Do not shrink the item until its identity is unclear merely to fit a long headline.
If it fails: shorten the composition request or use a layout tool to place the original product over a background. A banner candidate should not automatically become the marketplace main image; keep those uses separate.
Decide whether to accept, revise or stop
- Accept only after checking the correct variant, wording, outline, component count, material, crop and destination requirements.
- Revise when the background task is close but a limited change is still needed. Start from the original if the subject has drifted.
- Stop when the source lacks evidence or exact details keep changing. Use another photograph or a conventional editing method instead of refining an inaccurate object.
Read the current credit estimate before submitting. Each revision is a new generation and can consume credits. These templates do not establish a success rate, a fixed price or a number of attempts you will need.
Before using an AI-edited image in a product feed
Google Merchant Center’s image requirements distinguish main product imagery from additional and lifestyle views. The image must represent the item being sold; added promotional overlays and unrelated included-looking products can cause problems.
Google also requires metadata identifying generative-AI imagery and says to preserve embedded provenance tags such as IPTC DigitalSourceType. Check the final file and your feed workflow. This guide has not verified metadata retention through this site's download or any later conversion step, so an AI generation alone is not a feed-readiness check.
This guide is prepared by the AI Image Editor team for its own product. The linked tools are ours. The templates and illustrative comparisons explain how to write and inspect a brief; they should not be read as fresh model benchmarks or a guarantee of marketplace approval.