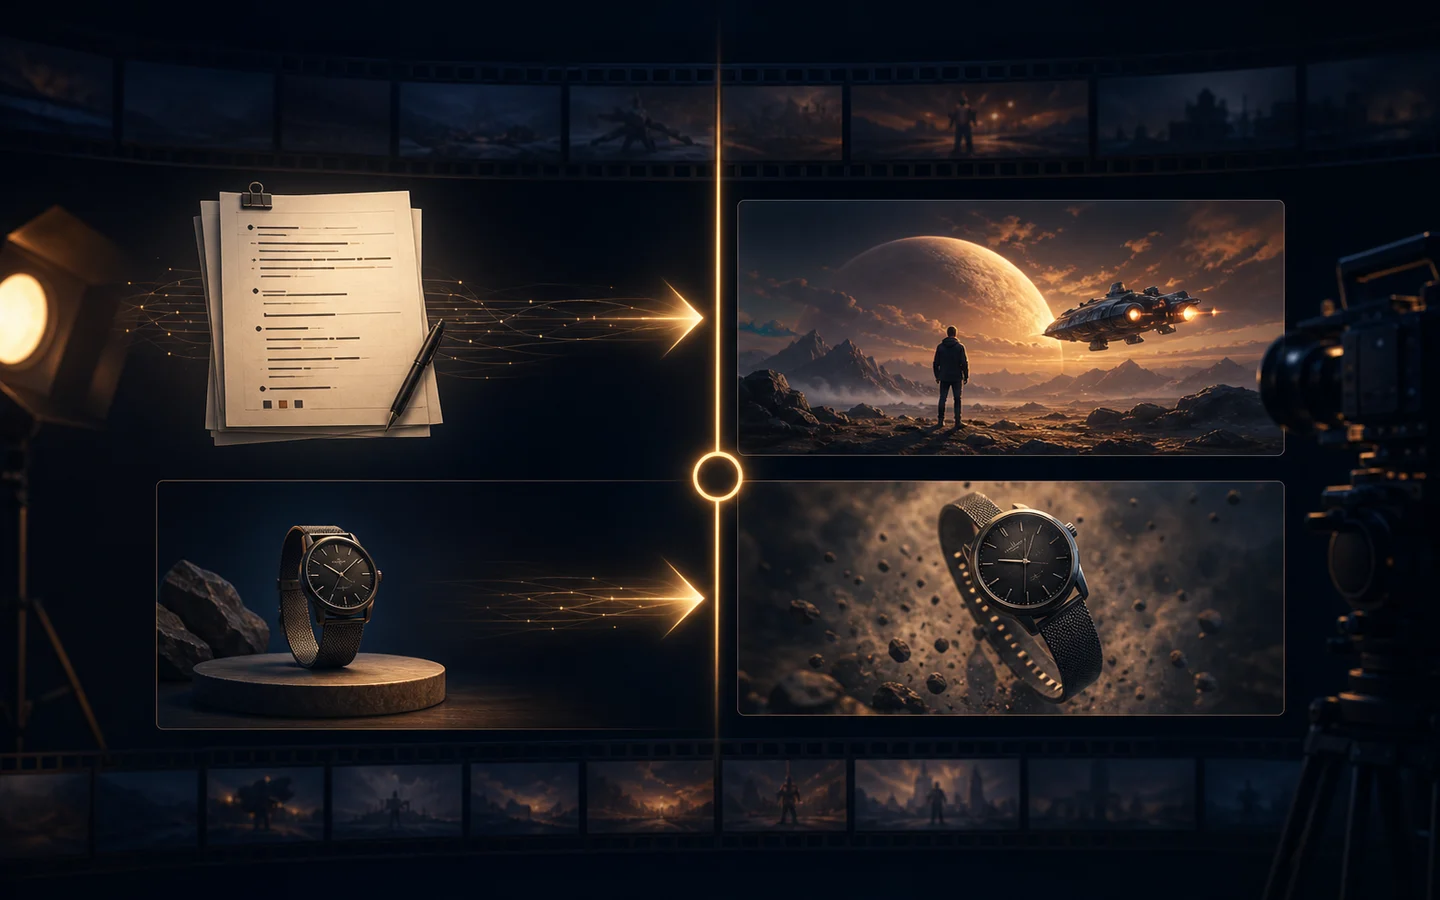
AI Product Photography Prompts: Lighting, Angles, and Backgrounds
Use practical prompt templates for ecommerce product photography, including studio lighting, camera angles, surfaces, backgrounds, negative constraints, and revision instructions.
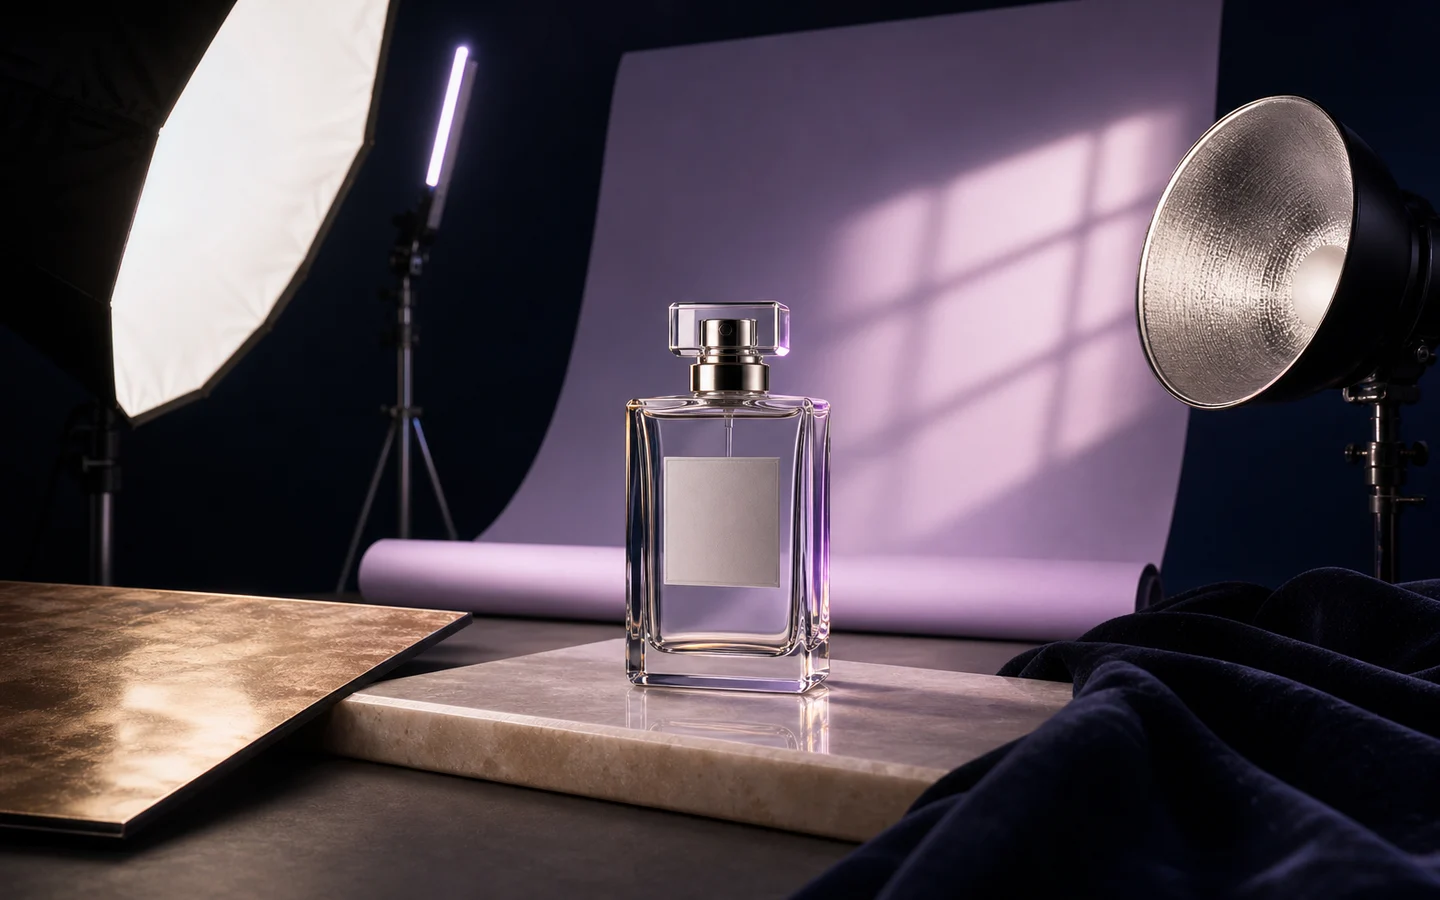
A useful AI product photography prompt does more than name a background. It defines the product’s position, camera, lens behavior, lighting, surface, composition, required empty space, and details that must not change.
The templates below are designed for prompt-based editing and image-to-image workflows. Replace the bracketed details, keep the product constraints, and change one variable at a time.
Use the AI Image Editor for targeted changes, Image to Image for wider variations, and GPT Image 2 when the scene needs detailed art direction.
The product photography prompt formula
Build prompts in this order:
1. Task: create, replace, relight, reframe, or remove. 2. Product: type, material, color, and important geometry. 3. Camera: view, lens feel, crop, and product scale. 4. Lighting: direction, size, softness, fill, and highlights. 5. Surface and background: materials, color, depth, and environment. 6. Composition: ratio and negative space. 7. Invariants: details that must remain unchanged. 8. Exclusions: unwanted props, text, distortion, and visual artifacts.
A compact formula:
[Task] the supplied [product] in [scene]. [Camera and crop]. [Lighting]. [Surface and background]. [Composition and negative space]. Preserve [identity details]. No [unwanted changes].Prompt 1: clean ecommerce white background
Place the supplied [product] on a seamless pure white ecommerce background. Front three-quarter view, centered, eye-level product camera, accurate proportions, even soft commercial lighting, subtle realistic contact shadow. Preserve the product geometry, material, color, controls, label area, and camera angle. No props, no extra products, no text changes, no clipped edges.Use this for marketplace listings and catalog consistency. If the object is white, add a faint edge-defining fill rather than changing the background to gray.
Prompt 2: premium studio hero
Create a premium studio hero image of the supplied [product] on pale travertine against a warm ivory gradient. Front three-quarter view, 70mm product photography, soft key light from upper left, gentle frontal fill, narrow edge highlight, controlled reflections, realistic contact shadow. Landscape 16:10 composition with generous negative space on the [left/right]. Preserve all product geometry and packaging details. One product only, no text, no flowers, no floating objects.This works for storefront banners and campaign headers. Specify where negative space is needed only when the final layout is known.
Prompt 3: soft window-light lifestyle scene
Place the supplied [product] on a clean [wood/stone/fabric] surface near a large window in a [kitchen/bathroom/desk] environment. Soft morning side light, natural shadow falloff, restrained background detail, shallow depth of field, realistic scale. Keep the product unobstructed and sharply focused. Preserve shape, material, color, label area, and camera angle. No people, no hands, no extra products, no altered text.Lifestyle scenes should explain use without hiding the item. Keep props behind or beside the product, never across important edges or labels.
Prompt 4: dramatic dark-background campaign
Create a dramatic commercial image of the supplied [product] on a charcoal studio background with a dark reflective stone surface. Low three-quarter camera angle, soft focused key light, cool rim highlight, restrained warm accent reflection, deep but readable shadows. Preserve product proportions, finish, controls, and packaging. No smoke covering the product, no neon text, no duplicated parts, no excessive reflections.Dark products need edge separation. Ask for a rim highlight and readable shadow detail instead of simply requesting “moody lighting.”
Prompt 5: beauty and skincare texture scene
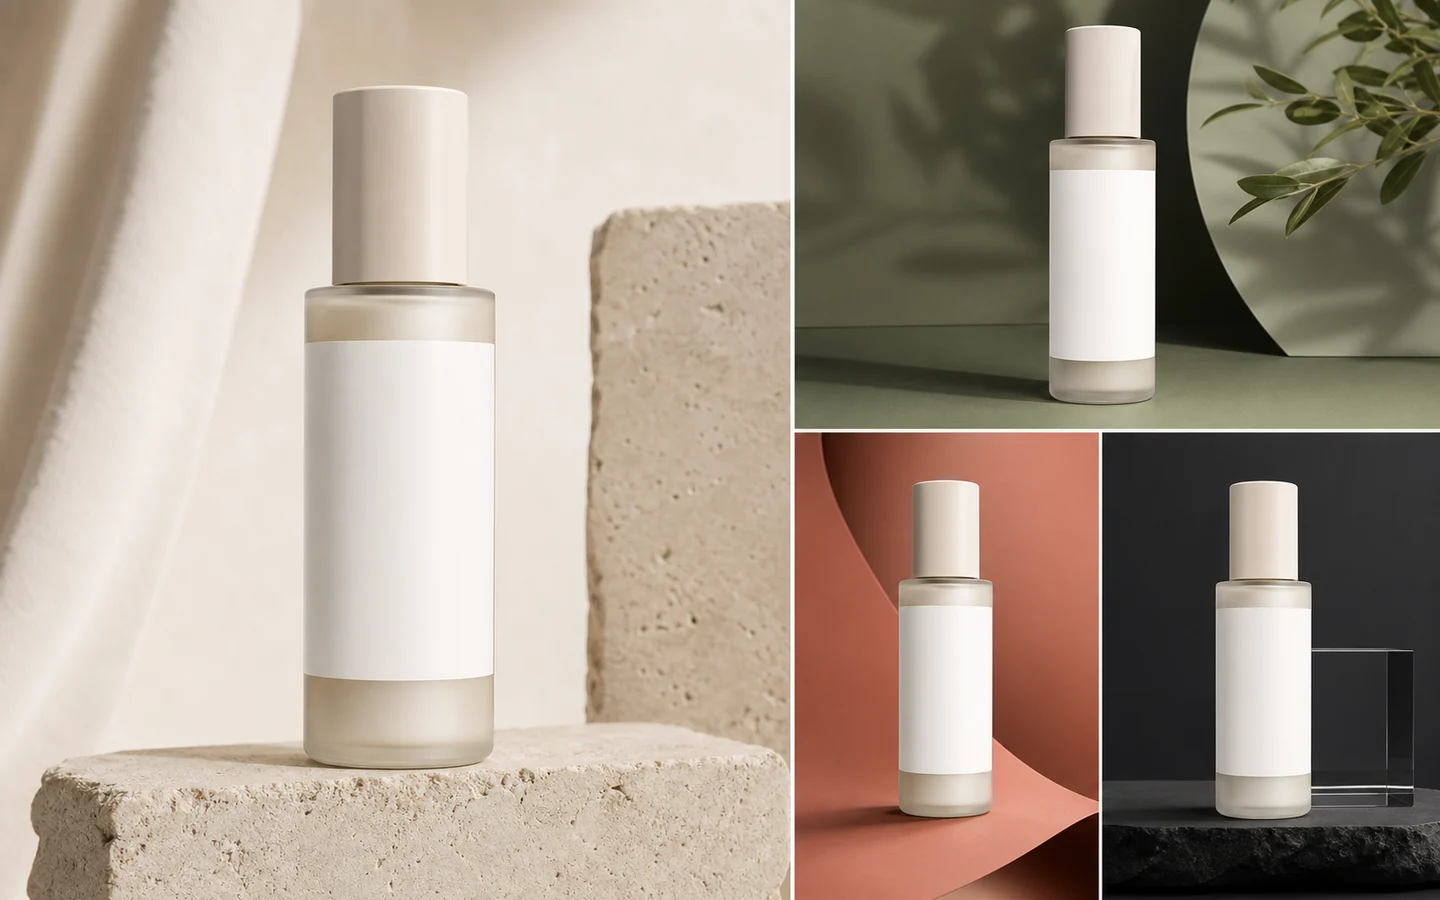
Create a clean beauty campaign image of the supplied [bottle/jar/tube] on a softly sculpted plaster surface with a pale [sage/blush/blue] background. Diffused top-side key light, delicate shadow, subtle material texture, fresh editorial mood, close product framing. Preserve cap, pump, container geometry, color, and label boundary. Add only one restrained ingredient-inspired prop placed behind the product. No liquid covering the label, no extra packaging, no text changes.Ingredient props should support the product category without making unsupported claims. Avoid generated badges, seals, or medical symbols.
Prompt 6: technical product detail
Create a precise close-up commercial image of the supplied [device/tool/accessory], emphasizing [material seam/control/connector]. Macro product photography, three-quarter detail view, neutral cool-gray background, soft directional key light, crisp micro-contrast, accurate material texture. Preserve the exact component count, placement, proportions, and color. No redesigned controls, no extra ports, no text, no decorative props.Use detail shots only after the model demonstrates that it can preserve the real component. A visually plausible but incorrect port or control is not acceptable for a product page.
Camera-angle phrases that are easier to interpret
Use concrete camera language:
- Front view.
- Front three-quarter view.
- Side profile.
- Slightly elevated three-quarter view.
- Eye-level product camera.
- Low hero angle.
- Top-down flat lay.
- Macro detail crop.
Avoid mixing incompatible instructions such as “front view, side profile, and top-down” in one frame. Generate separate deliverables for separate angles.
Lighting phrases and what they imply
- Large softbox from upper left: broad highlight and gentle shadow.
- Soft frontal fill: reduces deep contrast without flattening every edge.
- Narrow rim light: separates dark products from dark backgrounds.
- Window light: natural directional softness and longer falloff.
- Hard spotlight: crisp shadow and more theatrical contrast.
- Gradient reflection card: controlled highlight on glass or metal.
For reflective products, describe what should appear in the reflection. “Controlled studio reflections” is safer than “highly glossy,” which may exaggerate or distort the shape.
Negative constraints that prevent common failures
Add only the constraints that matter:
No extra products, no duplicated caps, no altered controls, no warped label, no new text, no floating object, no clipped edges, no hands, no flowers, no heavy smoke, no unrealistic reflection.Long negative lists can compete with the main brief. Keep the positive scene clear, then block the highest-risk changes.
How to revise a nearly correct result
Use a precise change request:
Change only the background from warm ivory to pale sage. Keep the product, crop, camera angle, lighting, shadow, surface, and all packaging details unchanged.Or:
Reduce the key-light contrast and make the contact shadow softer. Do not change the product, background, composition, or color.Repeat important invariants in every revision. Do not assume the model will carry them forward automatically.
Final recommendation
Treat a prompt as a small photography brief. Lock product identity first, then choose one camera, one lighting setup, one surface, and one delivery composition.
Start with a clean image in the AI Image Editor, test one template, and save the exact prompt with the approved result so the setup can be reused across the catalog.