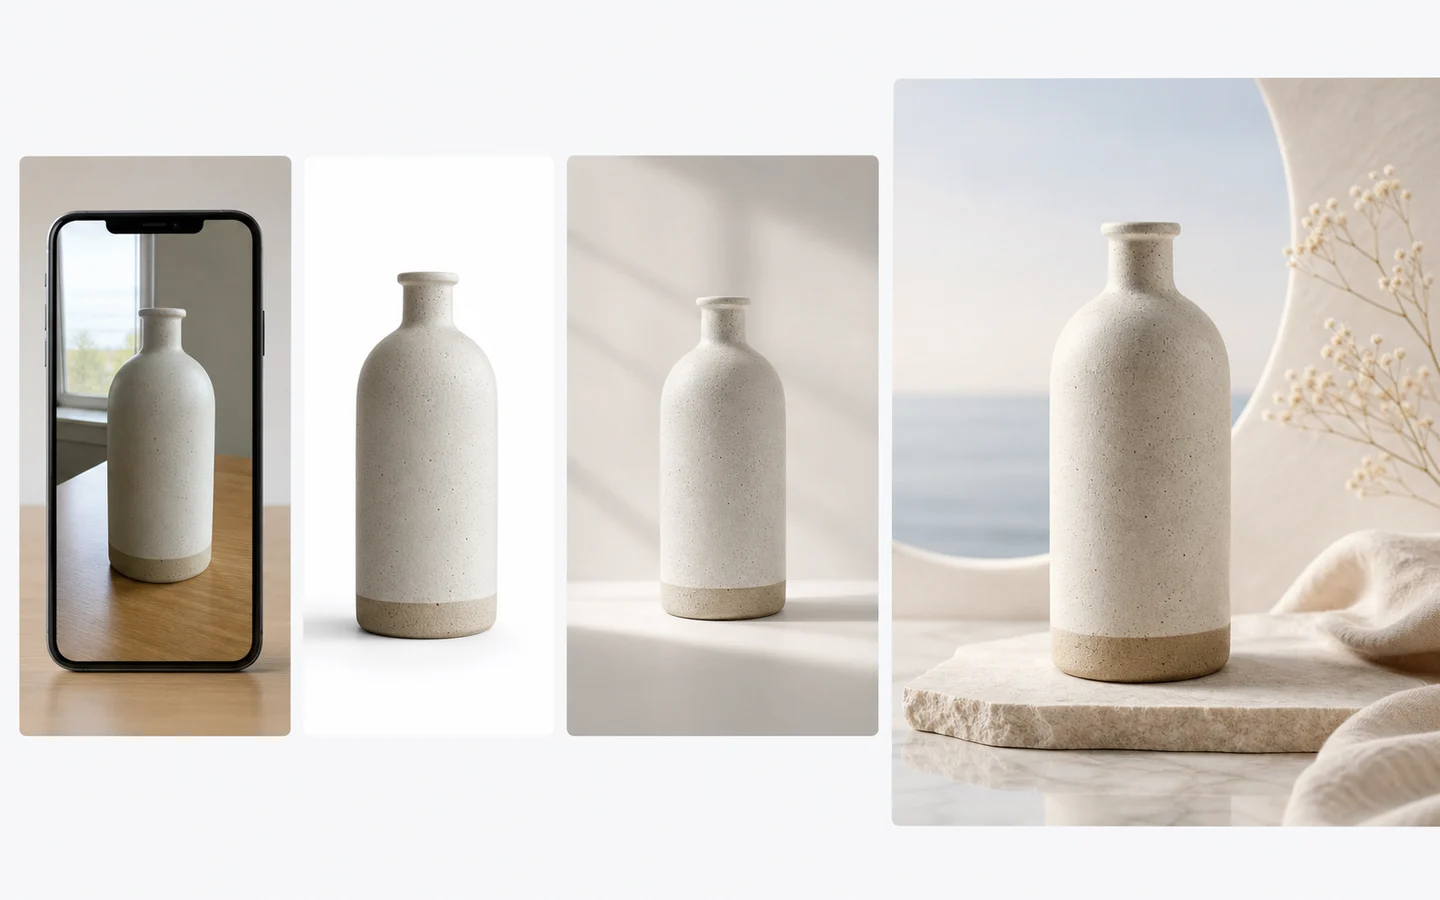
12 AI Photo Editing Prompts and How to Fix Bad Edits
Copy twelve prompts for background, lighting, product and style edits. Learn which details to protect and when to revise or reject a result.
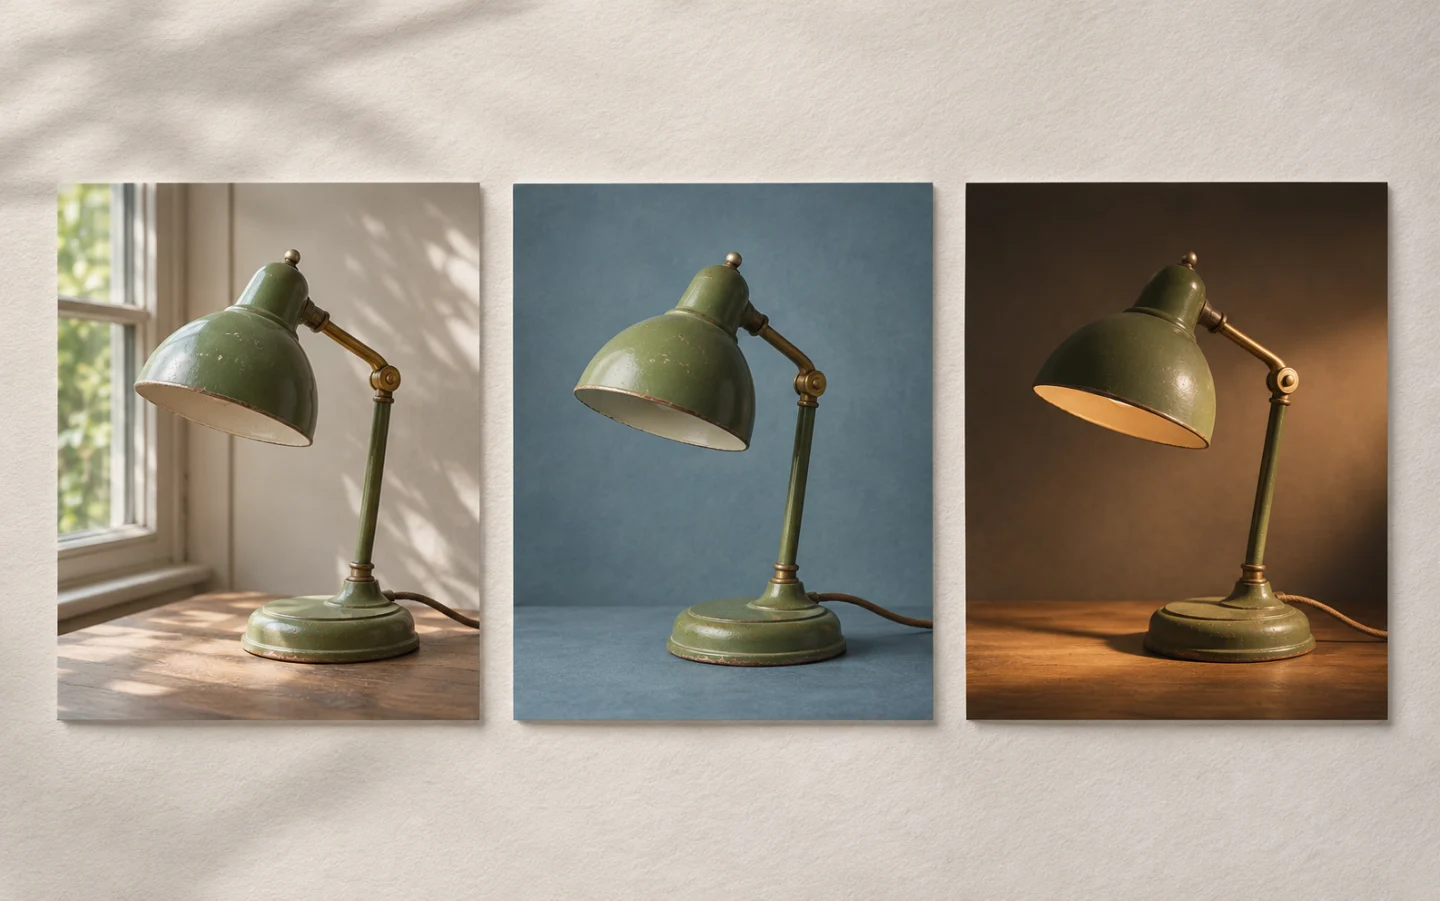
A good photo editing prompt specifies the change, the parts to keep, and what to inspect afterwards. Start with a source image and one edit. A longer prompt helps only when its details make the requested change clearer.
This guide comes from the AI Image Editor team. The templates are starting points for your own photos. The cover and the comparison below are editorial illustrations. A previously observed product test is identified separately.
Write the request in three lines
Keep: the subject, angle, crop and important details.
Change: one background, light, color or style decision.
Check: the feature that would make the result unusable.
Replace vague terms such as “make it professional” with visible instructions. For a bottle, name the cap, label wording and base. For a person, name the face, pose and framing. In AI Image Editor, select Image to image and upload the original. When you provide a second image for composition or style, explain its role in the prompt and state which image defines the subject. Image to Image explains how to resolve conflicting references.
Background prompts
1. Replace a distracting wall
Use when the subject and crop already work, but the wall draws attention.
Keep the uploaded subject, viewpoint and foreground unchanged.
Replace the wall behind the subject with plain warm-gray plaster.
Keep the light direction and contact shadow.
Check the boundary around the subject. If the floor changes too, specify the wall only and return to the original.
2. Clear the table
Keep the white bottle and jar, their relative heights and the table.
Remove the pen holder and loose pens around them.
Keep the original framing, light and shadows.
Check whether both items remain and whether their relative height changes. On November 10, our local editor test used one illustrative source image and Nano Banana 2.1 for this kind of cleanup. It returned one image with the surrounding pen holder and clutter removed. The input had blank packaging, so this observation does not establish label accuracy.
3. Put a subject in a secondary gallery scene
Use the uploaded mug as the source for the glaze, rim and handle.
Place it on a wood desk with diffuse window light from the left.
Leave clear space to the right and keep props away from the handle.
Check the handle opening and whether the contact shadow agrees with the desk. Adapt the scene for a different product in AI Lifestyle Product Photos.
Lighting prompts
4. Soften a hard shadow
Keep the subject, crop and background color.
Soften the shadow edge using a larger diffuse light from the same direction.
Preserve the highlight on the subject and the shadow at its base.
Check that the shadow still attaches to the subject. A floating product is a reason to reject the result.
5. Reduce glare on a label
Keep the package, printed lettering and camera angle.
Reduce the bright reflection across the label.
Keep the label texture and the reflections elsewhere.
Check every character. If the model redraws the label, preserve the original label in a conventional editor or reshoot with diffused light.
6. Correct a mixed color cast
Keep the product color, background and crop.
Reduce the yellow cast on the neutral tabletop while retaining the main light direction.
Keep the original material texture.
Check the item beside the source under neutral viewing conditions. Restrict the correction to the surface if the item changes hue.
Product prompts
7. Make a white catalog backdrop
Keep the item, packaging details and camera angle from the uploaded photo.
Change the surroundings to plain white, with a faint contact shadow under the item.
Show the whole product with clear margins.
Check edges, color and the label. Sample the exported background away from the shadow if a destination requires exact white. White Background Product Photos gives separate checks for glass, matte surfaces and dark boxes.
8. Create a crop for a wide slot
Keep the visible front view, product geometry and label.
Leave more negative space to the right for a horizontal banner.
Keep the entire item in frame and avoid adding any lettering.
Check the planned crop at its final size. If the model invents a hidden side, retain the original view and extend the canvas with a conventional editor.
9. Preserve a small but important part
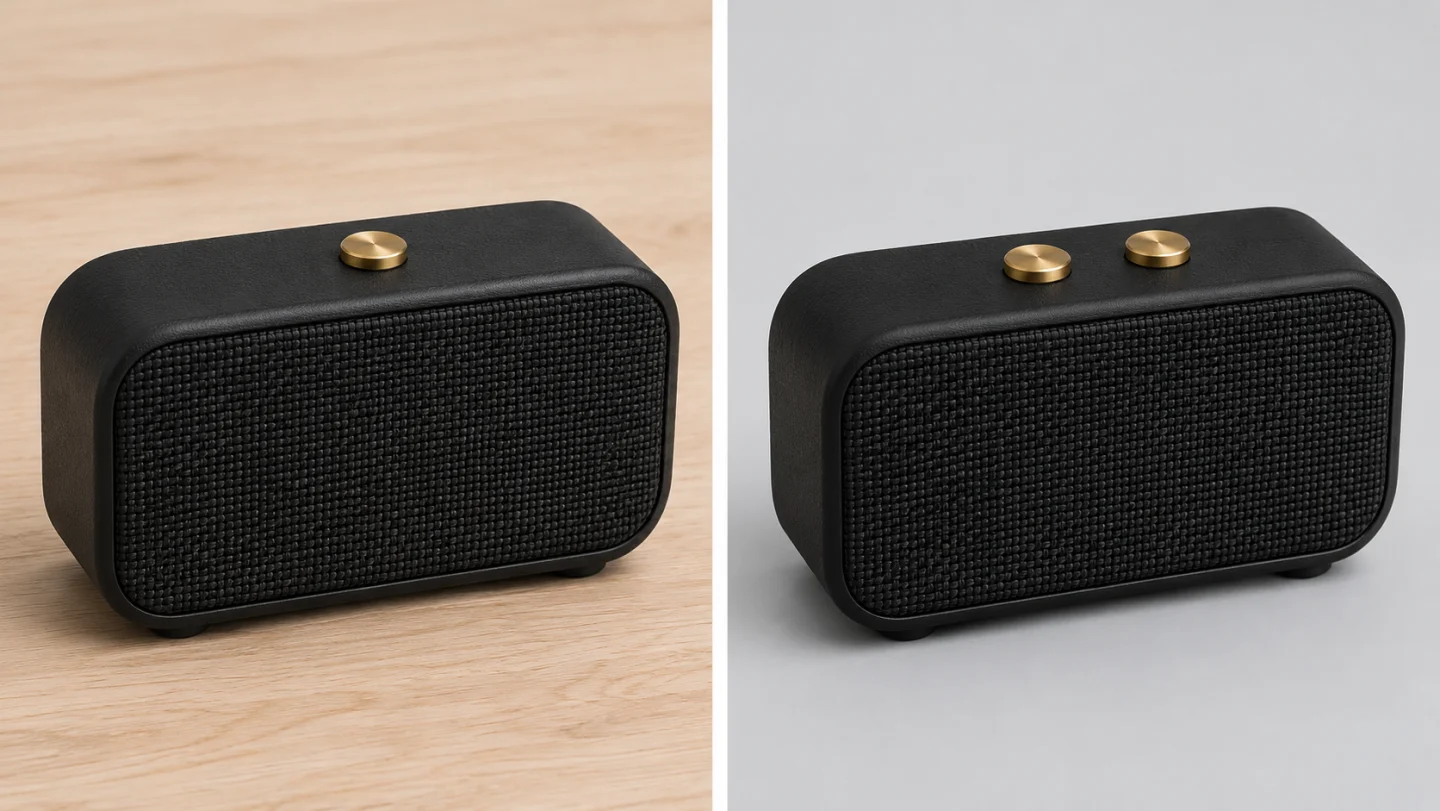
Keep the uploaded black speaker, its woven grille and its single brass top dial.
Change only the background to pale gray.
Keep the camera angle and the number of controls unchanged.
Check the dial count before judging the new background. In the illustration below, the right-hand example adds a second control. That is a reason to reject the edit for the real item. Return to the original and reduce the request to the backdrop. If the control is still redrawn, keep the original product pixels.
Style prompts
10. Introduce a muted palette
Keep the portrait pose, face, framing and clothing.
Give the background a muted cool palette.
Keep natural skin tones and the original direction of light.
Check skin tone and garment color beside the original. Limit the style change to the background if either shifts.
11. Add an editorial paper texture
Keep the object silhouette and composition.
Add a fine paper texture to the background only.
Leave smooth product surfaces and readable text untouched.
Check whether the texture appears on the product or over text. Apply it on a separate layer if the edit needs precise boundaries.
12. Turn a photo into a watercolor study
Use the uploaded photo for subject placement, pose and framing.
Render it as a loose watercolor study with soft edges and light washes.
Keep the main silhouette and the position of the eyes or key landmarks.
Check identity and placement. Treat the result as a stylized illustration. Use the photo itself when exact likeness or factual detail matters.
Decide whether to revise or stop
First compare at full size, then view the image as it will appear in the destination. Reject new parts, changed wording and incorrect product colors. Retry from the original with one smaller instruction when a correctable detail changes. For exact pixels, text or color values, use an editor with selections or layers.
A new request can use more credits. Read the current estimate before submitting. Keep the prompt and settings alongside any result you accept so you can explain what changed.
For product imagery, review the destination’s current policy as a separate step. Google distinguishes a primary product image from a lifestyle image. For a conventional workflow with a selected edit area, see Adobe’s reference-image guide.