How to Create Product Photos with AI: Your First Reviewed Image
Prepare a real product photo, choose image-to-image settings, write one bounded prompt, check the result against the original and correct failures before downloading.
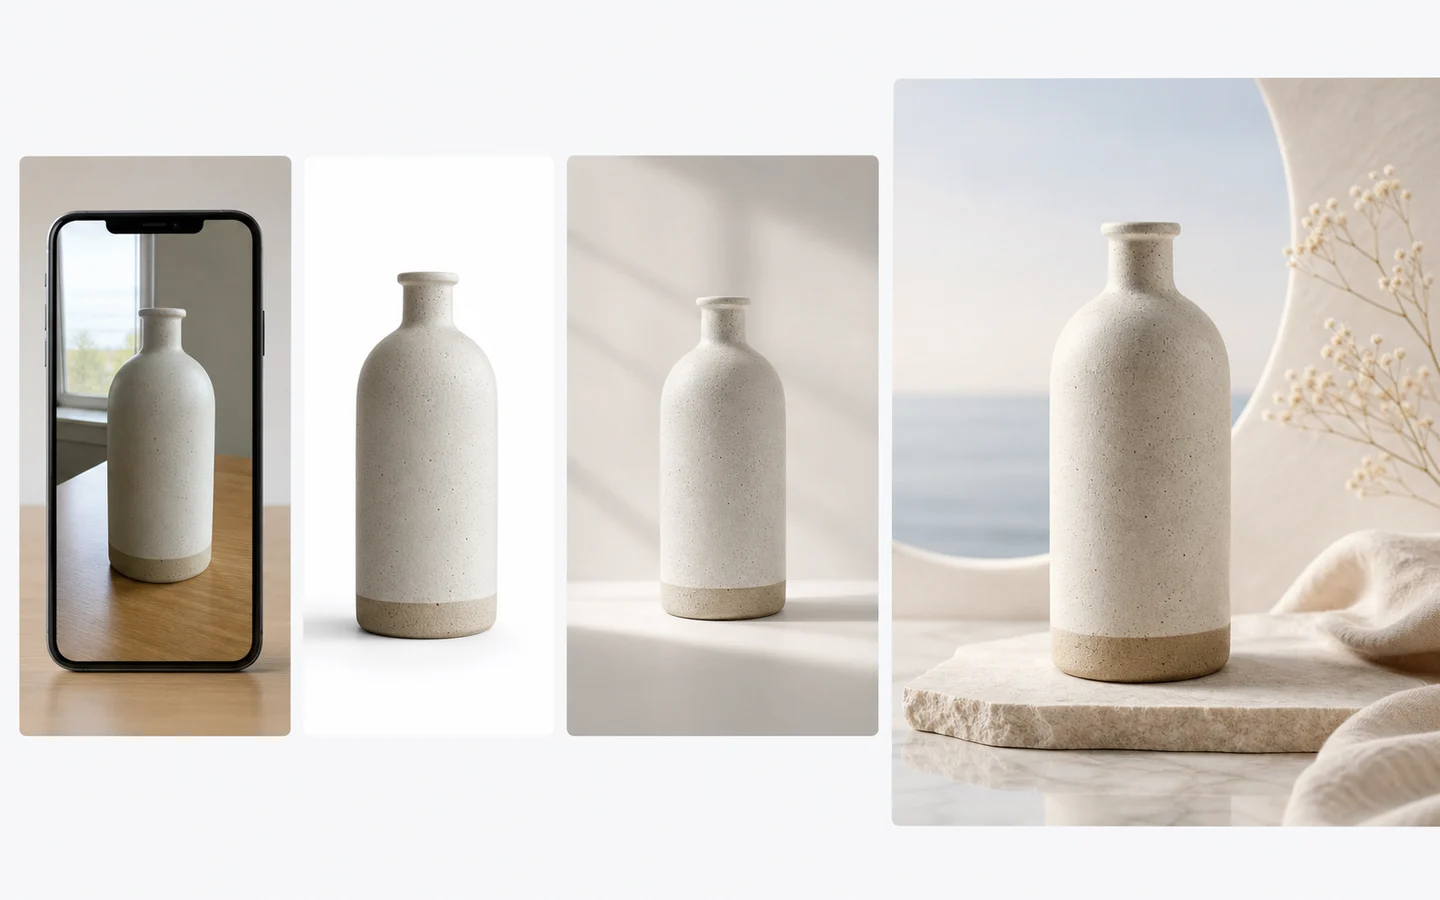
A useful first AI product photo starts with a clear picture of the item you actually sell. Choose one job for the new image, describe what must stay, and compare the result with the original before publishing. A convincing background cannot compensate for the wrong lid, color, label or component count.
This guide is written by the AI Image Editor project team for its own tools. It is a preparation and review workflow, not a new model benchmark. The images are editorial illustrations. Adapt the prompt below to your own product and review the result against your source photo.
1. Prepare one photo of the exact variant
Choose one SKU and one visible angle. Photograph the complete item with a little space around its edges. Use even light, avoid a strong color cast, and keep the label and important controls in focus. Do not start from a screenshot of a small shop thumbnail if you have the original photograph.
Before uploading, record a short product checklist:
- What is the actual color and surface finish?
- How many buttons, ports, lids, handles or accessories should be visible?
- Which letters, symbols and label boundaries must stay?
- Which parts are hidden and must not be invented?
Keep extra angles for your own review. Uploading all of them is not automatically helpful: incompatible viewpoints or a different product variant can confuse the brief. For physical photo preparation, Shopify’s product photography guide explains lighting, surfaces and consistent camera positioning.
If you cannot see an essential detail in the source, take another photo. Generating a plausible missing detail does not document the real item.
2. Decide where this one image will be used
Write one sentence before opening the generator: “This is a front-view catalog image of the blue variant, with the whole product visible.” Alternatively: “This is a landscape website banner, with the product on the right and space for a headline on the left.”
A catalog image needs a clear product and an appropriate crop. A lifestyle image adds context, but props must not obscure the item or imply that extra accessories come with it. Keep sales copy outside the generation prompt unless it is part of a separate design task.
Check the destination’s current rules before deciding the file dimensions or background. Google Merchant Center’s image requirements distinguish primary, additional and lifestyle images. A request for a white background does not certify that the output meets a marketplace’s requirements.
3. Open the tool and confirm the input mode
Open the AI Product Photo Generator. For an existing product, use Image to image and add your source photo. The current page opens GPT image 2 in that mode; if you switch models, check the active mode and reference requirements again.
Use Text to image for a concept that does not need to represent an exact SKU. It cannot prove the appearance of your inventory.
Choose an aspect ratio for the publishing job and a resolution available on the selected model. For example, choose a square frame for a square catalog slot, rather than generating a tall image and cutting off the product later. Check the displayed credit estimate and your account balance before starting. A later revision is another request and can use more credits.
Do not remove the background as a compulsory first step. A clean source may already be sufficient. If you use a separate cutout workflow, inspect handles, transparent edges and contact areas before treating that file as a better source.
4. Write one bounded change
Start with a scene change while keeping the original angle. Asking for a new camera angle can require the model to invent surfaces that the photograph never showed.
Adapt this template to your item:
Use image 1 as the reference for the actual product.
Keep its camera angle, silhouette, proportions, color,
surface finish, visible controls and label wording.
Replace only the surroundings with a plain light-gray
studio background and a soft contact shadow.
Show the entire product with a small margin on every side.
Do not add accessories, objects, symbols or promotional text.
Name important parts instead of relying on “keep everything.” For a speaker, that might be the fabric grille, top dial and number of visible ports. For a bottle, name the cap, label boundary and shape of the shoulder. These are instructions to inspect afterwards, not pixel locks.
If a second image is necessary, give it one role: “Image 1 defines the product. Image 2 guides only the empty space and background lighting; do not copy its objects or branding.” See reference-image roles and conflict handling before adding more inputs.
5. Review the first result beside the original
Look at the image at full size, then at the thumbnail size your visitors will see. Compare with the original photograph, not only with the previous AI version.
- Shape and parts: accept only matching silhouettes, openings and visible component counts. If they change, return to the original and reduce the requested change.
- Color and material: check the actual variant and finish. If they drift, remove conflicting style references or colored scene light.
- Text and marks: check every required letter, symbol and boundary. Reject altered copy; use verified artwork or a conventional editor when exact lettering is essential.
- Placement: the whole item and required margins must fit the slot. If they do not, adjust framing or ratio without asking for a new viewpoint.
- Scene blend: inspect contact edges, shadow direction and reflections. Simplify the surface and light if they do not look plausible.
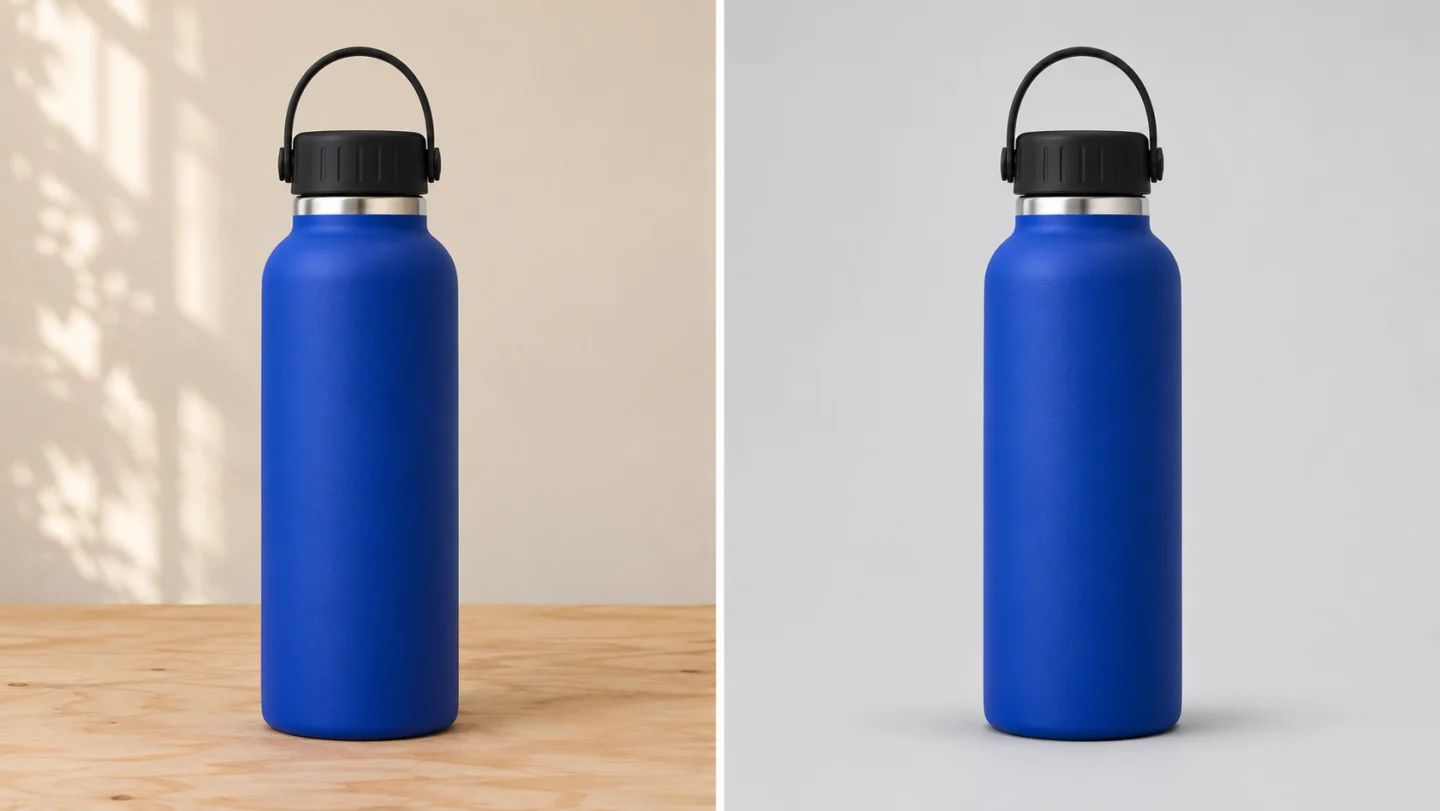
Editorial illustration: compare the blue bottle’s outline, cap, carry loop and silver ring across the two settings. Check the contact shadow against each surface.
Decide to accept, revise or stop. Stop generating if the source cannot show the required detail or the task needs exact geometry or lettering that the output keeps changing. Another request is not guaranteed to solve it.
6. Correct the failure without rewriting the whole brief
If the product is already wrong, do not build on that flawed result. Return to the original photo, remove unnecessary references and narrow the change.
If the product passed review but the crop is wrong, keep the brief and change only the frame or requested placement. If the scene is too busy, remove props before adding more descriptive detail. If a label changed, adding “perfect text” is not an acceptance check: compare the actual letters again.
Use the AI Image Editor for a focused prompt-based revision. In this workflow, wording such as “change only the background” is not a brush mask or layer lock. Reinspect the subject after every new generation.
For apparel, inspect the artwork separately before making the scene more complex. The T-shirt mockup page explains why a flat-lay is useful for lettering and placement checks, and why an on-model image cannot certify print dimensions or fit.
7. Build a small consistent set only after approval
Keep the approved source, prompt, model, ratio, resolution and intended crop together. Note the background, product scale and light direction. This record helps you request the next image consistently without pretending the generator offers a locked reusable scene.
Use the actual photo for each new variant. Do not recolor a generated product to represent a different SKU unless you can verify the result against that item. Recheck labels, surfaces and accessories for every image, even when you reuse a prompt.
For a second publishing task, change one decision deliberately. A lifestyle banner may need more space and context than a catalog thumbnail; it should not silently become the new evidence for the product’s physical details. The six product photography prompt templates provide separate starting points for those jobs.
8. Download and inspect the delivery file
After the image passes review, download it and inspect the actual file. Confirm its dimensions, crop, visible details and appearance at the intended display size. Keep a master and create a separate compressed delivery copy, rather than repeatedly recompressing the only file.
A higher resolution cannot repair an incorrect label or invented component. Approve the content before deciding whether any separate enlargement is necessary.
For Google product listings, check the current requirements for AI-generated image metadata as well as the visible image. Google requires the appropriate IPTC source-type metadata for generative AI images. This guide does not establish that every download or later export preserves it; verify the delivered file and the tools used to edit it. Do not remove required AI metadata during compression.
Your first usable result is the image that passes the product and destination checks, not simply the first attractive generation. Keep the original available for corrections and for any task that needs faithful, verifiable product detail.