


Source stays loaded
Pick a different backdrop without uploading the portrait again.
Preview
Explore other image models and their editing controls.
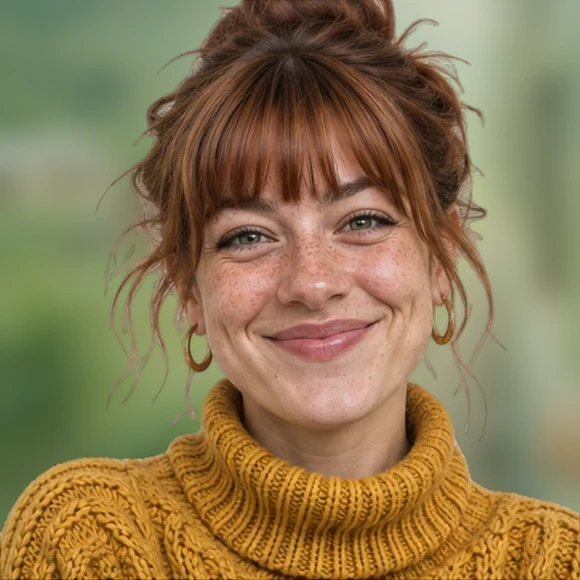
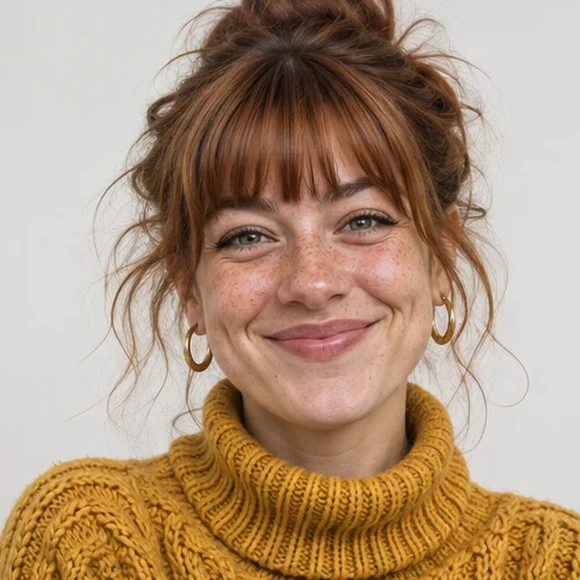
Try a new setting for a portrait or subject you already like. Keep the photo loaded as you switch scenes, then inspect the generated edges against contrasting backings and the original shot.
Pick a different backdrop without uploading the portrait again.
The subject and the backdrop reference each have their own upload.
Switch between checkerboard, light, and dark backings on the generated result to check hair and shoulder edges.
Switch between looks such as outdoor bokeh and a neutral studio. Your uploaded portrait stays in place for the next edit.
Use a built-in look or add a second photo in the custom backdrop slot to guide the replacement.
Once generated, switch the result frame backing between checkerboard, light, and dark alongside the original-photo toggle to inspect hair and shoulder edges.
Look for a backdrop photographed from a similar height. Check whether its brightest area is on the same side as the highlights on the subject.
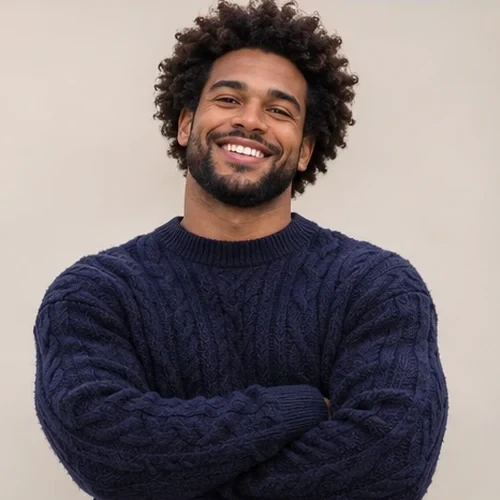
Warm wood and soft window light shift this portrait from a plain wall to a café setting.
Select the café preset, or upload a scene with soft side light coming from the same direction as the light on the face.
Follow the curls through the bright window area and check that the shoulders meet the scene without a pale rim.

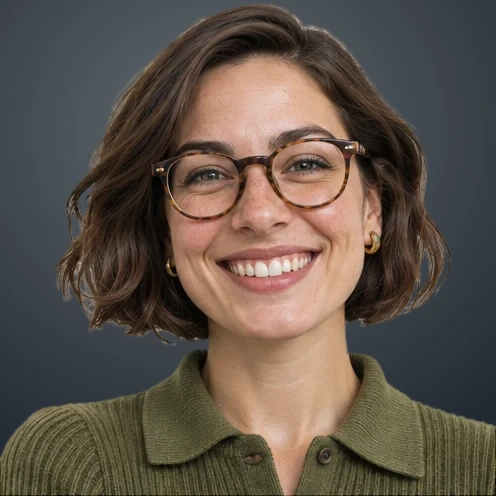
A charcoal studio backdrop draws attention to the face. The dark tones make the outline of the bob easier to inspect.
Use the dark editorial preset to place the portrait against charcoal. Check that the backdrop leaves some contrast behind the hair.
Inspect the tips of the bob and the shoulders at full size for a white outline or a break in the subject’s contour.
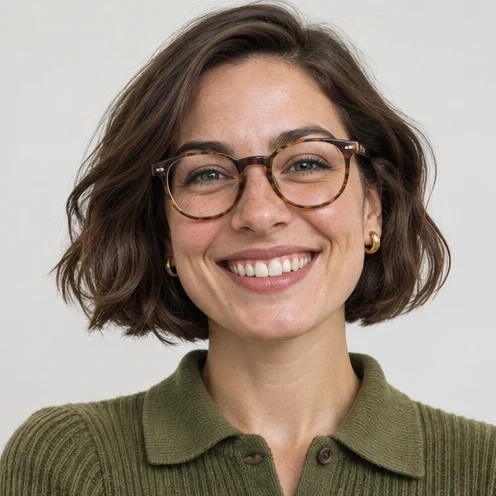
Upload a portrait with enough detail around the hair and shoulders.
Upload a second photo as the custom background and select it. A scene with a similar camera angle and light direction is easier to blend.
Run the edit, then switch between checkerboard, light, and dark backings or toggle the original photo. Pick another scene while keeping your subject photo loaded.
Yes. Changing a preset or reference keeps your subject photo in place.
Upload a second photo as the custom background and select it. A scene with a similar camera angle and light direction is easier to blend.
Upload a portrait and try a backdrop with a similar camera angle and light direction. Then compare the result with your source photo.