How to Create Product Photos Without a Reshoot Using AI
Turn an existing product snapshot into listing, lifestyle, and campaign images without arranging another shoot while preserving shape, packaging, materials, and brand details.
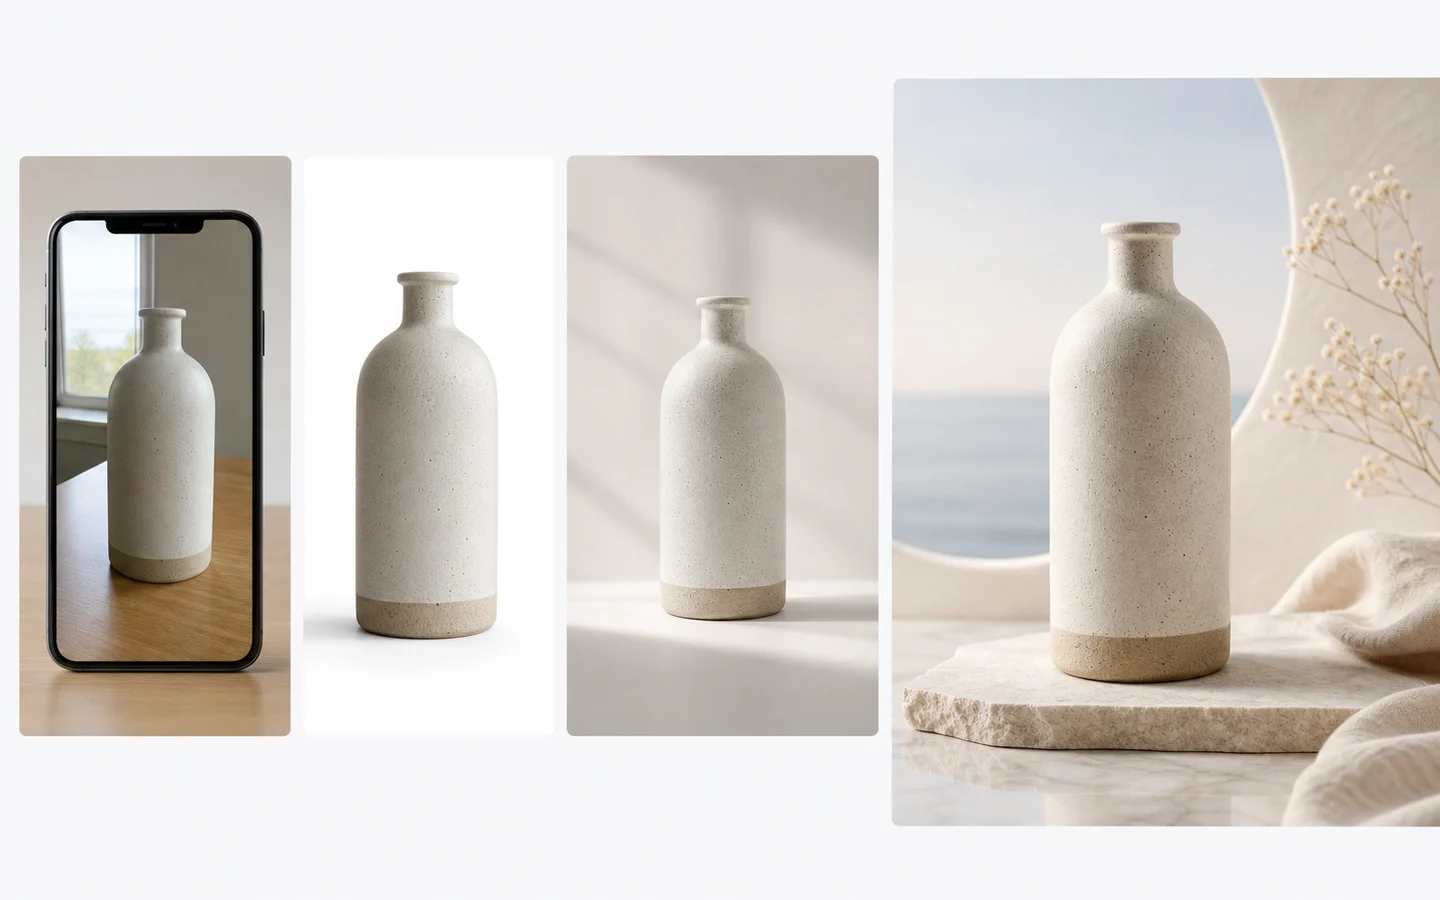
A reshoot is not always necessary when the product already exists in a clear source image. AI can replace the background, change the lighting, create a new crop, or place the item in a new scene. The important condition is that the product itself remains truthful.
This workflow is for ecommerce teams, marketers, and small shops that need more usable images from existing assets. It is different from generating a product concept from scratch: the source photo is the reference contract, and every result needs an accuracy review.
When an AI reshoot replacement works
A source photo is a good starting point when it shows the full silhouette, accurate color and material, label and logo area, key controls, and a stable camera angle with enough margin. AI is less reliable when the product is heavily blurred, partly hidden, transparent with complex reflections, or shown from an angle that hides important surfaces.
Use the AI Product Photo Generator for a new commercial scene, the AI Image Editor for targeted changes, and the Background Remover when the original setting is the main problem.
Start with a source audit
List the details that cannot change:
- Product dimensions and overall silhouette.
- Number and position of buttons, ports, handles, or seams.
- Material finish and primary color.
- Label boundary and verified packaging artwork.
- Product orientation and distinctive marks.
Then list the changes you actually need: a white marketplace background, a neutral studio surface, a lifestyle environment, more negative space, a new ratio, or softer light. This separation prevents a vague prompt from silently redesigning the item.
Create the first controlled replacement
Use one scene, one camera direction, and one lighting setup:
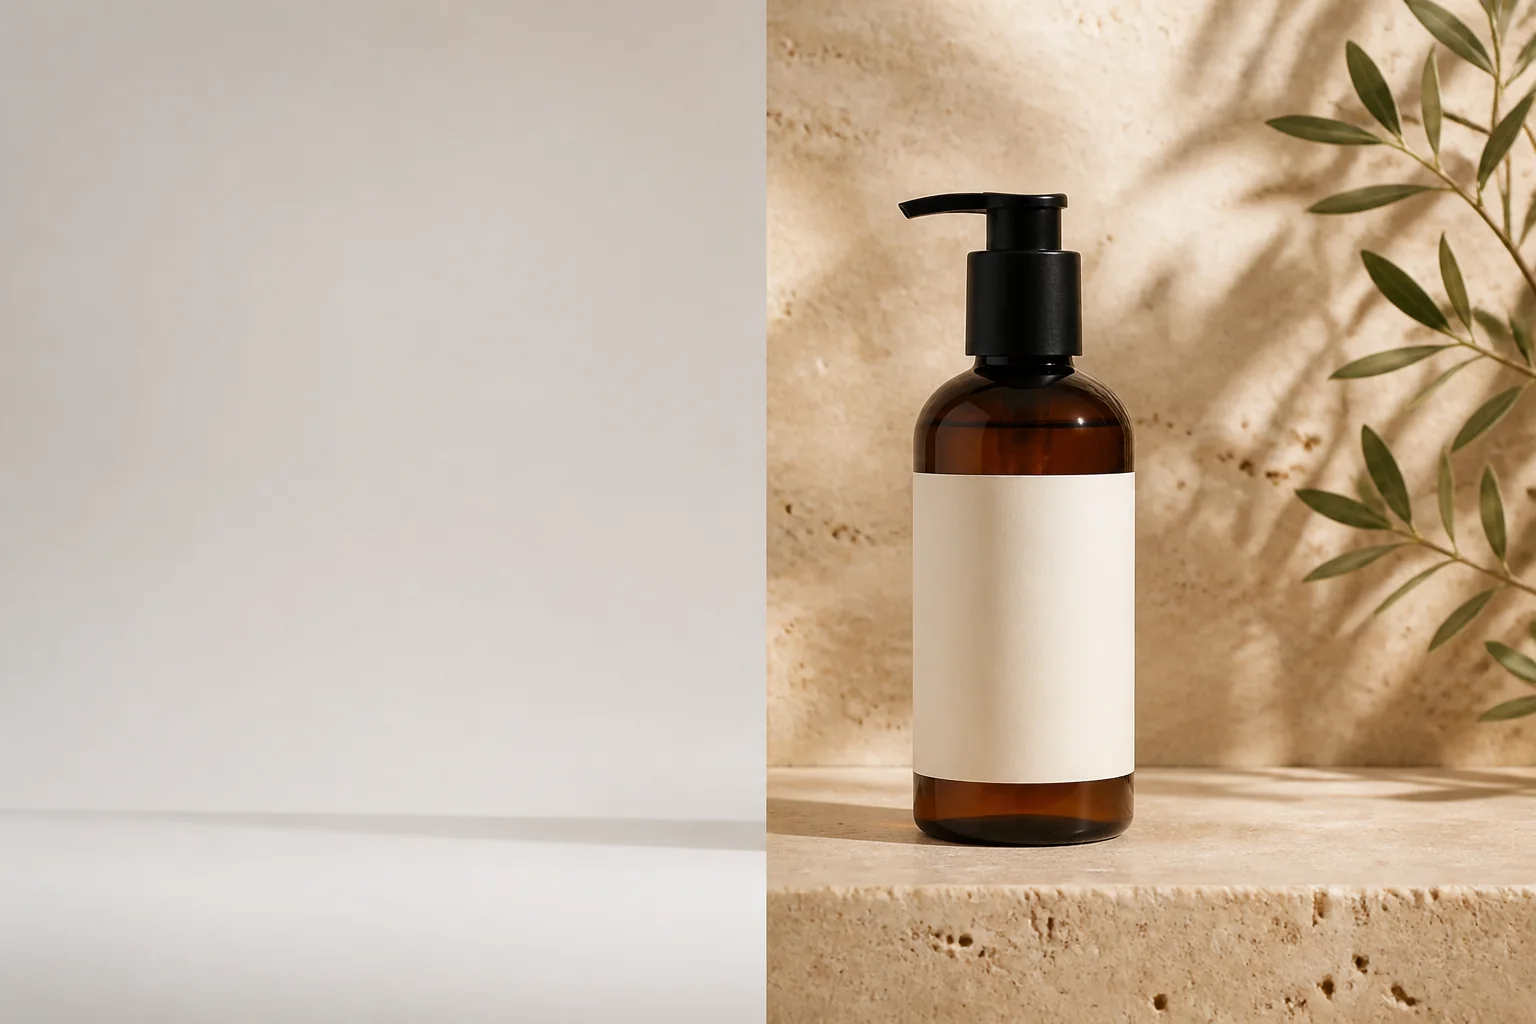
Create a clean storefront hero image using the supplied product photo. Place the same product on pale warm-gray stone against a soft ivory studio background. Front three-quarter view, realistic commercial product photography, soft key light from upper left, gentle fill, and a natural contact shadow. Landscape composition with negative space on the right. Preserve the exact product shape, dimensions, material, color, label boundary, controls, and camera angle. One product only, no extra props, no new text, no altered logo.
The phrase “without a reshoot” is a business goal, not a visual instruction. The image still needs a concrete brief for scene and output placement.
Build three useful variants
For a marketplace listing, prioritize recognition: use a seamless white background, centered three-quarter view, even light, accurate color, clear edges, and no props.
For a lifestyle image, place the product in a setting that explains use without hiding it. Keep it large, unobstructed, and geometrically unchanged; put restrained props behind it rather than across the label.
For a campaign hero, reserve negative space for verified copy. State the intended side of the frame, background material, light direction, and product scale. Add the headline and logo later in a design step where the copy can be checked.
Preserve packaging and brand accuracy
Generated packaging text is not a reliable source of truth. Compare the label boundary, logo shape, color blocks, ingredient panel, and required information with the original asset. If a mark or word must be exact, keep the artwork from the source or add it later in a design tool.
For reflective products, inspect highlights and reflections. A metal bottle may gain a false seam, or a glass container may show a different opening. These are product errors, not merely style differences.
Iterate without losing the approved product
Once product identity is correct, change one art-direction variable per revision:
- Change only the background from ivory to pale sage.
- Keep the product and crop unchanged; make the key light softer.
- Move the product slightly lower and preserve its size.
- Remove the prop behind the product without changing the label.
- Keep the scene unchanged and create a square crop.
Save the approved version before testing the next variant. If a later result changes the product, return to the approved source instead of repeatedly editing drifted output.
Review like a catalog manager
Compare the result with the real product or an approved source. Check silhouette, proportions, component count, cap, pump, handle, opening, seams, controls, color, material, reflections, label position, shadow direction, crop, and mobile thumbnail readability. Also check duplicate objects, melted edges, and invented accessories.
Review the destination’s current image ratio, background, file-size, and text policies before publishing. AI generation does not replace channel-specific review.
Scale the workflow across a catalog
When one image is approved, record camera angle, product scale, surface, background color, light direction, shadow treatment, negative-space position, output ratio, and product-specific exclusions. Use the same brief structure for related SKUs, but do not force products with different shapes into an unsuitable scene.
For the broader workflow, read How to Create Product Photos with AI and AI Product Photography Prompts. Use Image Upscaler only after composition and product accuracy are approved.
Final recommendation
AI is most useful here as a controlled reshoot substitute: keep the source product truthful, change the commercial context, and review every identity-critical detail. Start with one SKU, produce a listing image and one lifestyle variant, and document the prompt before scaling.
Open the AI Product Photo Generator with a clean product photo, then compare the result against the source before using it in a catalog or campaign.